
This post contains affiliate links. Please see our disclosure policy.
Let’s face it: the biggest challenge of cooking wings on the Big Green Egg isn’t the flavor… it’s the texture. We’ve all been there, pulling off a batch of wings that taste wonderfully smoky but have skin that feels like rubber. If you’re tired of sacrificing that satisfying “crunch” for the sake of the grill, I have some good news: I’ve officially cracked the code.
Getting restaurant-quality, shatteringly crispy skin on a ceramic grill isn’t about luck; it’s about a specific process that starts long before the charcoal is lit. I’m going to walk you through my foolproof method for achieving that perfect bite every single time, without ever touching a deep fryer.
So, crack open your favorite citrusy IPA, fire up the Big Green Egg, and let’s get into the only guide you’ll ever need for Crispy Grilled Chicken Wings on the Big Green Egg.
Table of Contents
Get My NEW Book
The Ultimate Big Green Egg Cookbook

The “Crispy Wing” Secrets
To get the results you’re looking for, we’re going to focus on three main pillars:
The Flip: Timing your cook to ensure the fat renders out and the skin crisps up on both sides.
The Dry Brine: Why prepping 24 hours in advance is the ultimate “cheat code” for crispy skin.
The Indirect Setup: Utilizing the ConvEGGtor at 350°F to create the perfect outdoor convection oven.
Dry Brine The Chicken Wings
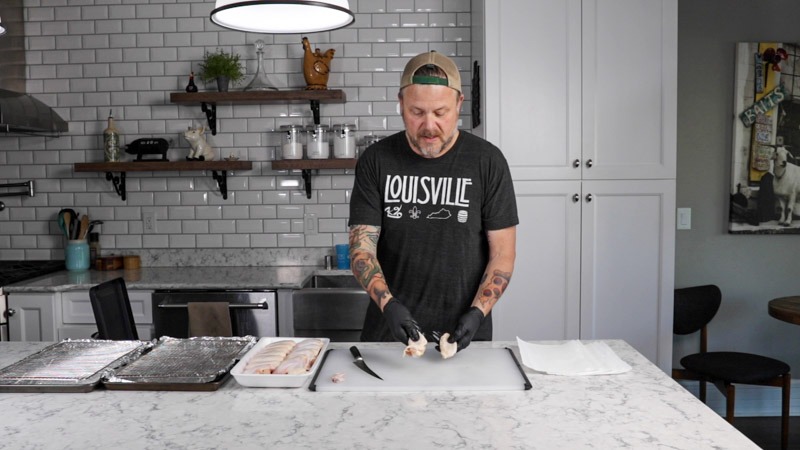
If you want wings that actually crunch, the work starts 24 hours before they ever touch the grill. For the best results, you really need to give yourself a full day of prep time. I always recommend starting with a pack of whole wings rather than the pre-cut “party packs.”
There are two big reasons for this. First, buying whole wings is almost always less expensive per pound. Second, you get much higher quality control. When you break them down yourself, you end up with bigger, meatier drumettes and flats that haven’t been mangled by a factory saw.
To break them down, all you need is a sharp chef’s knife. Find the two joints, make a clean slice through the cartilage, and discard the wing tips (or save them in the freezer for a killer chicken stock). Once you have your individual pieces, you are ready for the most important part of the process: the overnight dry brine. This is the stage where we start pulling moisture out of the skin, which is the only way to ensure it crisps up properly under the dome of the Big Green Egg.
The Breakdown Checklist
The Prep: Once cut, pat every single wing completely dry with a paper towel.
Whole Wings: Look for “air-chilled” wings if possible, as they have less water weight.
The Knife: Use a sharp 8-inch chef’s knife to find the “sweet spot” in the joints.


Once the wings are broken down, it is time to address the enemy of crispiness: moisture. Before you even think about seasoning, take a paper towel and wipe every single wing piece until it is as dry as possible. If the skin is wet when it goes into the fridge, you are essentially steaming the chicken rather than prepping it for a crunch.
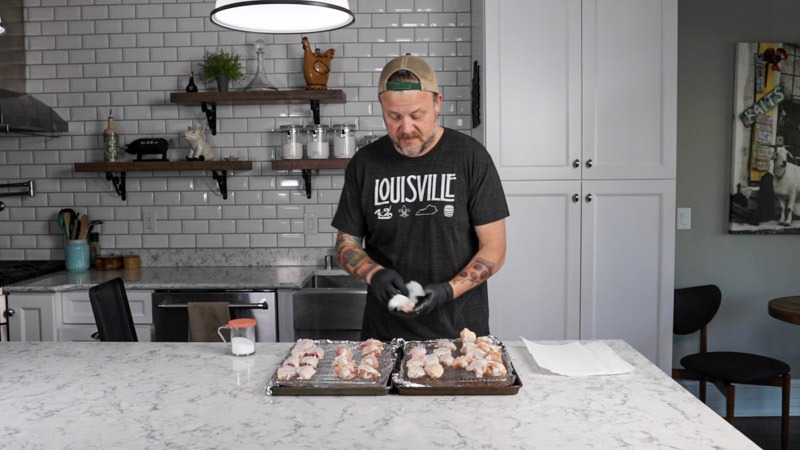
After the wings are bone-dry, sprinkle a light, even layer of kosher salt on both sides. This is the start of the dry brining process. Now, place the wings onto a wire rack set inside a large baking sheet. Using a rack is essential because it allows the cold air in your refrigerator to circulate around the entire wing, drying out the bottom just as much as the top.
Slide the tray into the fridge and leave the wings uncovered overnight. This open-air environment is the secret weapon. Over those 12 to 24 hours, the salt will draw out internal moisture while the fridge air dehydrates the skin. By the time you are ready to light the Big Green Egg, the skin will look slightly translucent and feel like parchment paper. That is exactly what you want because that leathery texture is what eventually transforms into a shatteringly crispy crust on the grill.
Dry Brining Pro Tips
The Time: If you are in a rush, even 4 hours will help, but the full overnight rest is where the real magic happens.
The Space: Make sure the wings aren’t touching each other on the rack. Airflow is your best friend here.
The Salt: Don’t overdo it. A light “snowfall” of salt is enough to trigger the process without making the wings too salty once you add your final rub.

Prep The Chicken Wings
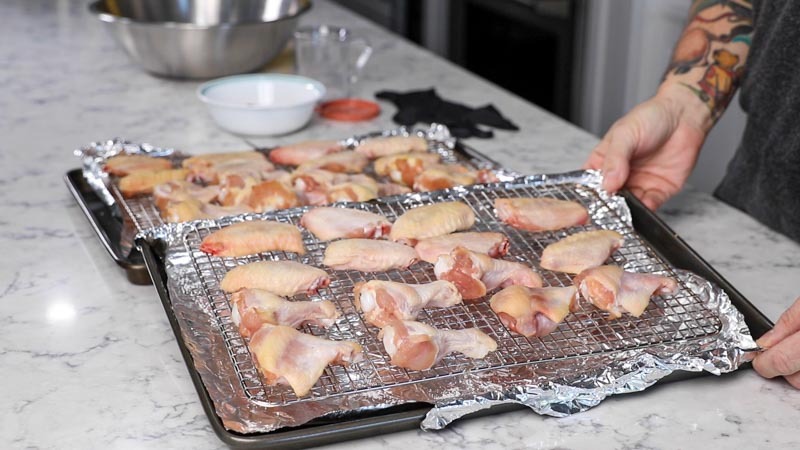
The next day, pull your wings out of the fridge a full hour before they hit the grill. When you look at them, you will notice a dramatic difference. Instead of that pale, wet look of raw chicken, the skin should now be a dark yellow, slightly translucent, and very dry to the touch.
It might look a little strange if you are used to cooking wings straight out of the package, but this is the ultimate sign of success. That “leathery” appearance means you have successfully removed the surface moisture and tightened the skin. Because the skin is already dehydrated, the heat of the Big Green Egg can immediately start rendering the fat and crisping the exterior rather than wasting time evaporating water.
Letting them sit out for that hour also takes the chill off the meat. This ensures that the wings cook evenly from the outside in, preventing a scenario where the skin burns before the meat at the bone is fully cooked. While the wings are tempering on the counter, it is the perfect time to get your Big Green Egg lit and stabilized.
Visual Cues for Success
Uniform Color: That deep golden hue is the precursor to the beautiful mahogany color you will see after the cook.
Tight Skin: The skin should look like it is shrink-wrapped to the meat.
Tacky Texture: If the wings feel slightly sticky or tacky rather than slippery, they are ready for the rub.
Season the Wings
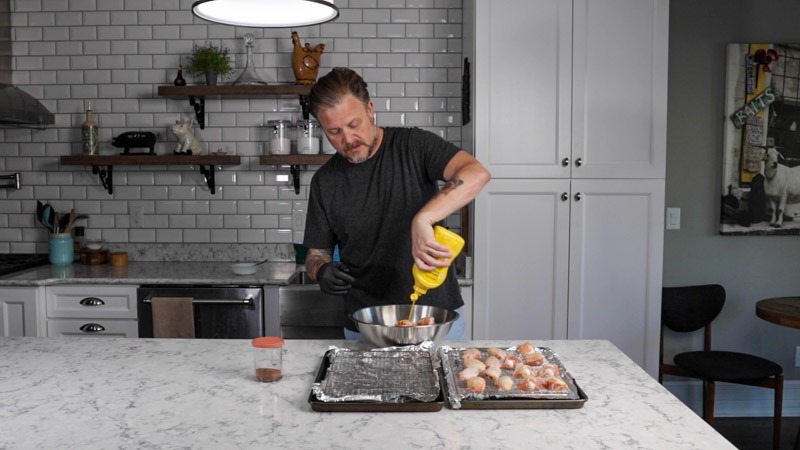
Now that the skin is prepped and dry, it is time to build the flavor profile. Even though the skin is tacky from the dry brine, you want to use a binder to make sure every bit of your rub stays exactly where you put it.
I recommend using a thin coating of yellow mustard as your slather. It is the perfect binder because the vinegar helps the spices penetrate, but the mustard flavor itself will completely disappear during the cook, leaving behind only the savory notes of your seasoning. If you prefer a different profile, you can also use a light coating of avocado oil or even a spicy hot sauce for an extra kick.
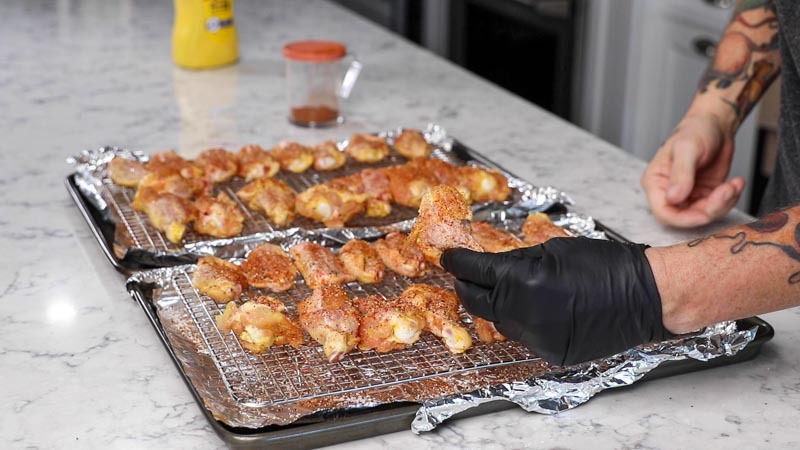
Once the wings are lightly coated with your binder, apply your favorite chicken rub generously. Make sure to get into all the nooks and crannies of the flats and drumettes. Setting the wings aside for a few minutes while you prep the grill allows the rub to “set” and form a paste-like consistency on the skin. This prevents the seasoning from blowing off once the convection air starts moving inside the Big Green Egg.
Rub Application Tips
Prep the Surface: I like to do this on a clean baking sheet to catch any excess rub, which makes cleanup much easier once the wings are on the grill.
Go High: Sprinkle your rub from about 12 inches above the wings to get a perfectly even distribution without clumping.
The “No-Salt” Warning: Since you already dry-brined the wings with salt, check your rub ingredients. If your rub is very salt-heavy, use it a bit more sparingly so the final result isn’t over-seasoned.
Set Up The Big Green Egg
While the wings are resting with their rub, it is time to transform your Big Green Egg into a high-powered convection oven. For wings that are both smoky and crispy, the indirect setup is non-negotiable.
Start by lighting your lump charcoal and allowing the fire to establish itself. Once you have a steady glow, place the ConvEGGtor (plate setter) into the Big Green Egg with the legs facing up. This creates a heat shield that blocks direct flames from scorching the chicken skin, allowing the hot air to circulate around the wings instead.
The “Kiss of Smoke” and Temperature Control
- The Smoke: Add a small handful of smoking chips (like apple, cherry, or pecan) directly onto the hot coals before you put the grate in place. You only want a “kiss” of smoke here. Chicken skin is like a sponge for smoke, and too much can make the wings taste bitter.
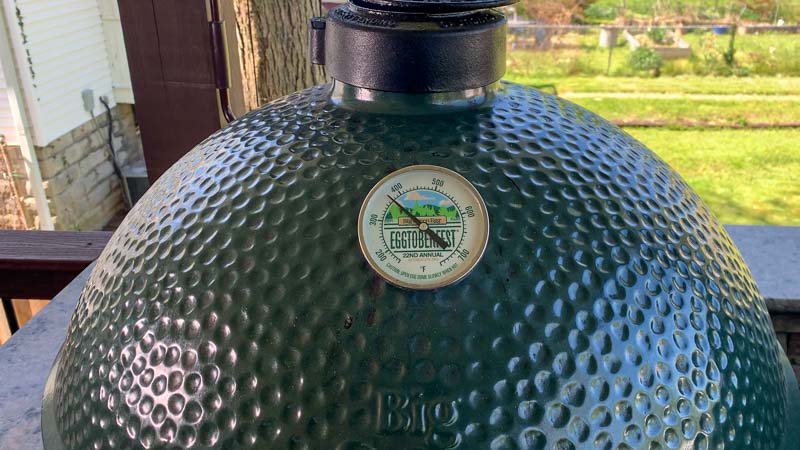
- The Temperature: Close the dome and adjust your vents to stabilize the Egg at 350°F. This is the magic number for wings. If the temp is too low, the skin will stay rubbery. If it is too high, the sugar in your rub might burn before the fat renders out. At 350°F, you get enough heat to sizzle the skin while the indirect setup keeps the meat juicy.
Once the Egg is holding steady and the smoke has shifted from thick and white to a thin, wispy blue, you are ready to cook.
Cooking the Chicken Wings
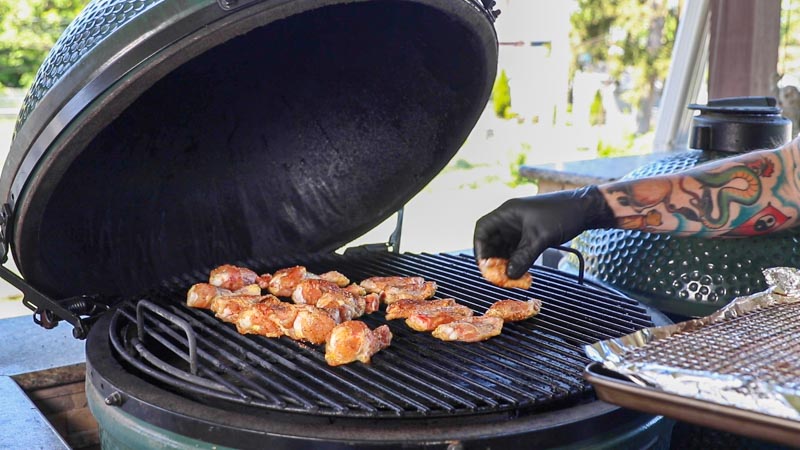
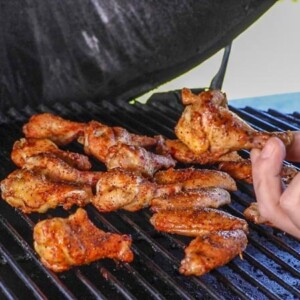
With the Big Green Egg holding steady at 350°F and the smoke running clean, it is time to load the grill. To get that legendary crunch, you want to start by placing the wings skin side down on the grate.
This initial placement is strategic. The heat rising from the ConvEGGtor is most intense right at the grate level, and by putting the skin side down first, you jump-start the rendering process. The fat under the skin begins to liquefy and sizzle, essentially frying the skin in its own oils. This is what creates those tiny, crispy blisters that define a perfect wing.
The 20-Minute Transformation
- Let Them Sizzle: Close the dome and let the wings cook undisturbed for 20 minutes. Resisting the urge to peek is crucial here, as you want the internal temperature of the Egg to remain constant to keep that “air fryer” effect going.
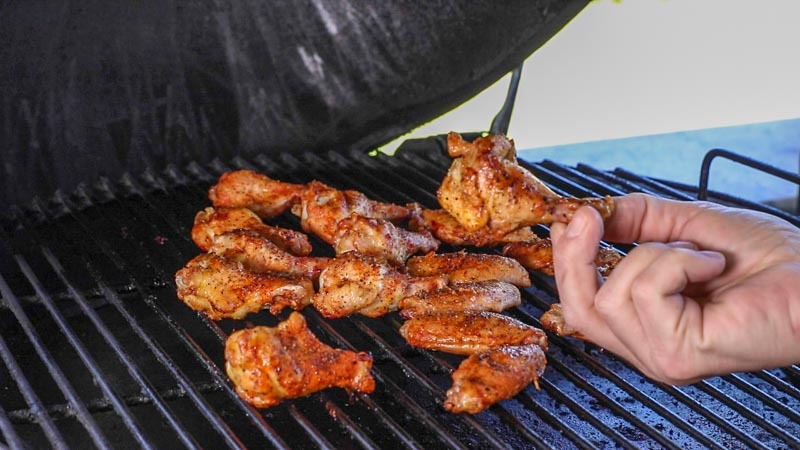
- The Flip: After the first 20 minutes, open the dome and flip each wing to skin side up. By now, you should see the first signs of greatness: the side that was touching the grate should be golden brown and starting to firm up.
- Finishing the Cook: Flipping them to skin side up for the remainder of the cook allows the heat to circulate over the top, tightening the skin further while the meat inside reaches its ideal temperature.
This two-stage process ensures that the fat renders out completely, leaving you with meat that is tender and juicy on the inside, protected by a canopy of crispy, flavorful skin.
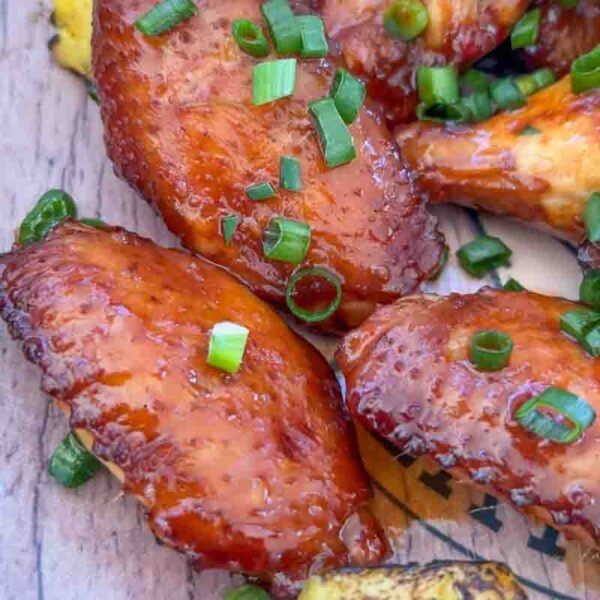
After that second stretch of 20 to 30 minutes, you are going to see a total transformation. The wings will have taken on a deep, mahogany color, and the skin will look tight and blistered. At this stage, the fat has fully rendered out, and the “crunch” you have been chasing is finally there.
While the standard safe temperature for chicken is 165°F, do not be afraid to let wings go a little bit higher. In fact, many pitmasters prefer taking wings to 185°F or even 190°F. Because wings have so much connective tissue and bone, they are very forgiving. Letting them ride for those extra few minutes allows the color to deepen and the skin to reach its maximum crispness without the meat drying out.
As long as your instant-read thermometer shows at least 165°F in the thickest part of the wing, you are in the clear. If the skin is not quite as dark or crispy as you like, give them another five minutes. That extra time is often the difference between a good wing and a legendary one. Once you are happy with the texture and the internal temp is hit, pull them off the Egg and get them to the table.
The Final Inspection
The Meat: The meat should be starting to pull back slightly from the bone ends.
The Sound: If you tap the skin with your tongs, it should sound hollow and firm.
The Color: Look for a rich, reddish-brown hue from the combination of the rub and the smoke.
Finish the Chicken Wings
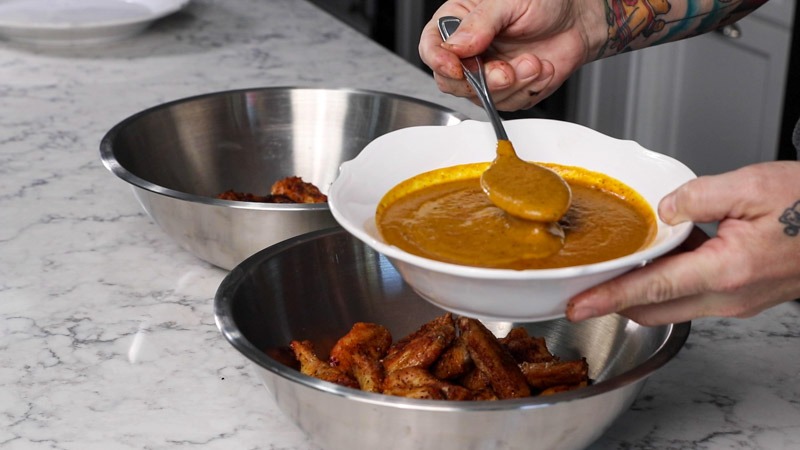
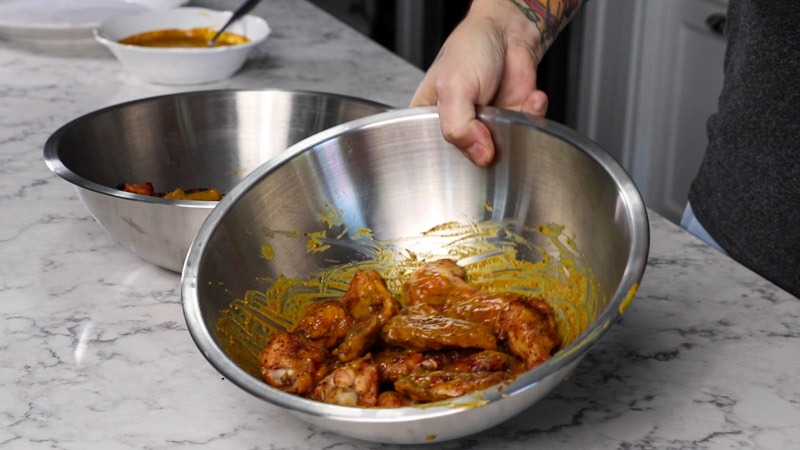
Once those wings hit your desired color and temperature, it is time to cross the finish line. Carefully pull the wings from the Big Green Egg and transfer them to a large stainless steel bowl. Now comes the big choice: how to handle the sauce.
If you like a “tacky” wing with a thick, caramelized coating, toss them in your favorite sauce and then place them back onto the grill for an additional 5 to 10 minutes. This allows the sugars in the sauce to bake down and “set” onto the crispy skin, creating a sticky, finger-licking glaze that won’t budge.
However, I often prefer the immediate toss-and-serve method. I find that the carryover cooking of the wings, combined with the heat from the meat, is enough to slightly warm the sauce and help it bond to the skin without the risk of overcooking the chicken. This method preserves every bit of that hard-earned crunch you developed during the dry brine and the cook.
The Perfect Serve
- The Toss: Use a large bowl and a vigorous swirling motion to ensure every wing is evenly coated without being drowned.
- The Carryover: By saucing immediately after the pull, the residual heat ensures the meat stays succulent while the exterior stays crisp.
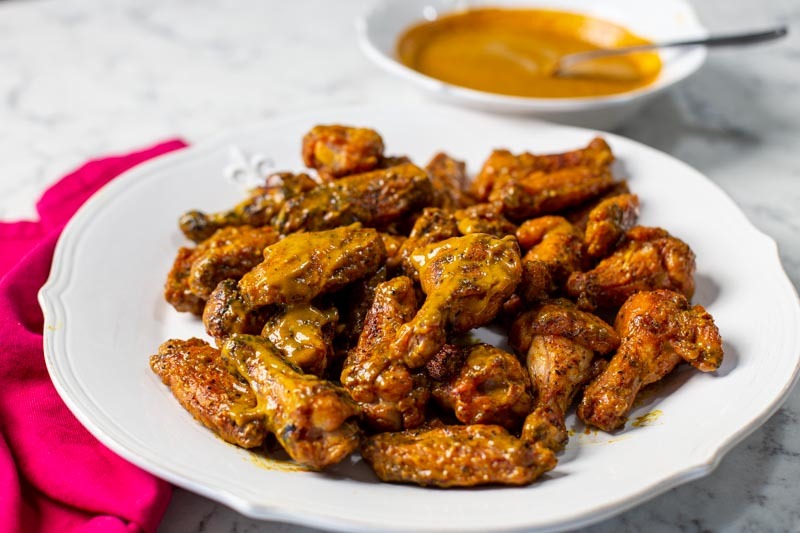
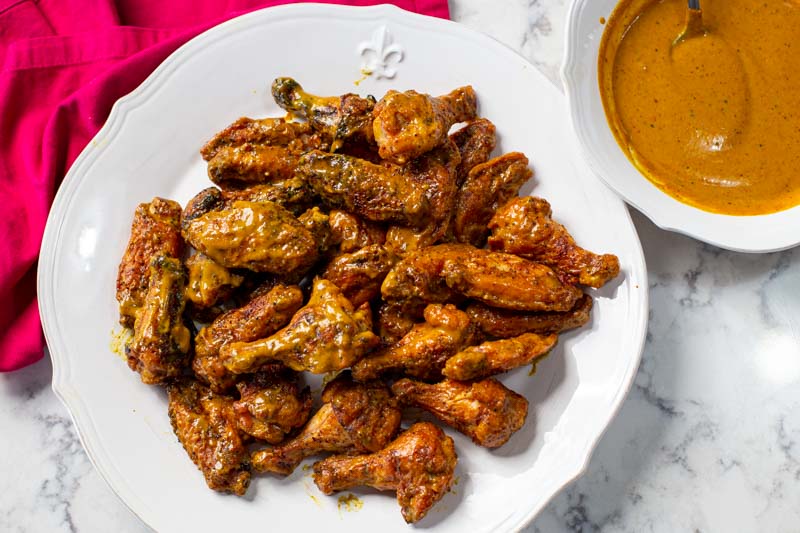
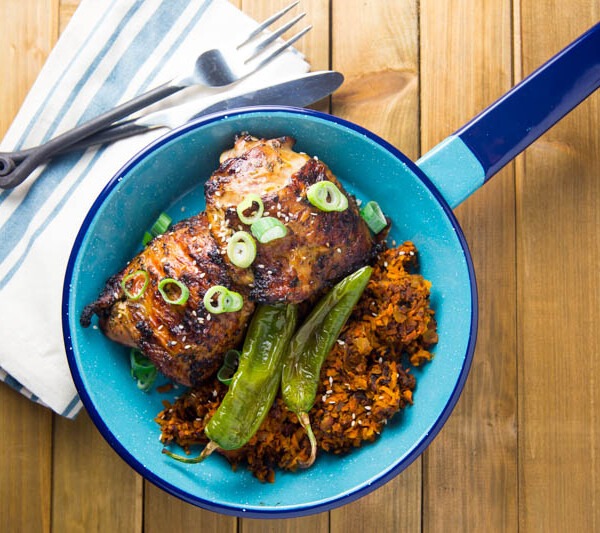
- The Pairing: Plate them up while they are piping hot, serve them with some cold celery and blue cheese, and let that IPA do its job.
You have officially mastered the art of the crispy wing. No rubbery skin, no deep fryer mess… just pure, smoky, crunchy perfection from the Big Green Egg.
Here is my recipe for The Best Spicy Mustard BBQ Sauce which goes great on wings!

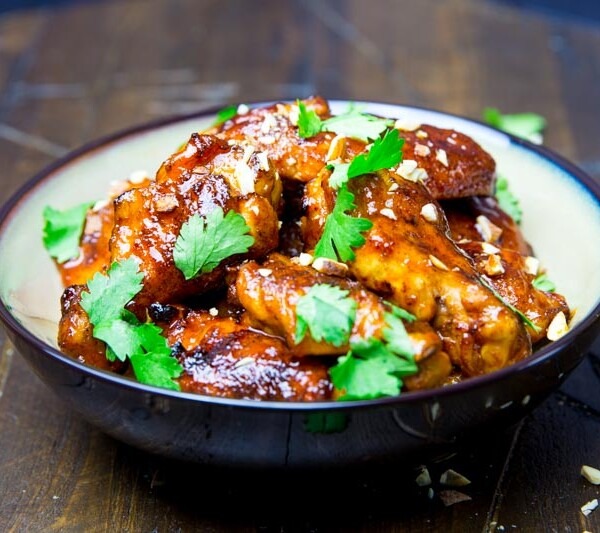
Crispy Big Green Egg Chicken Wings
Ingredients
- 2 Lbs Chicken wings
- 2 tsp Kosher Salt, for dry brine
- 2 tbsp Yellow Mustard, for the binder
- 3 tbsp BBQ Rub
Instructions
- Separate the flats and the drums discarding the wing tips
- Place wings on wire rack set atop a baking sheet
- Sprinkle kosher salt over the wings on both sides
- Place baking sheet with wings (uncovered) in the fridge overnight
- The next day take your wings out of the fridge
- Setup your Big Green Egg for indirect cooking and preheat to 350° adding some wood chips for a little smoky flavor
- Use a little mustard slather as a binder for your wings then cover both sides with your favorite BBQ rub
- Place the wings in the Big Green Egg skin side down and let them cook for 20 minutes then flip to skin side up
- Let them cook for another 20 – 30 minutes until they measure 165° with thermometer (they can be a little higher in temp)
- Remove wings, sauce, and serve
Nutrition information is automatically calculated, so should only be used as an approximation.


After 10 years with my bge. First time making wings. Followed your directions. Best wings ever. Thanks for the guidance.
Thanks for your kind words 🙏