
This post contains affiliate links. Please see our disclosure policy.
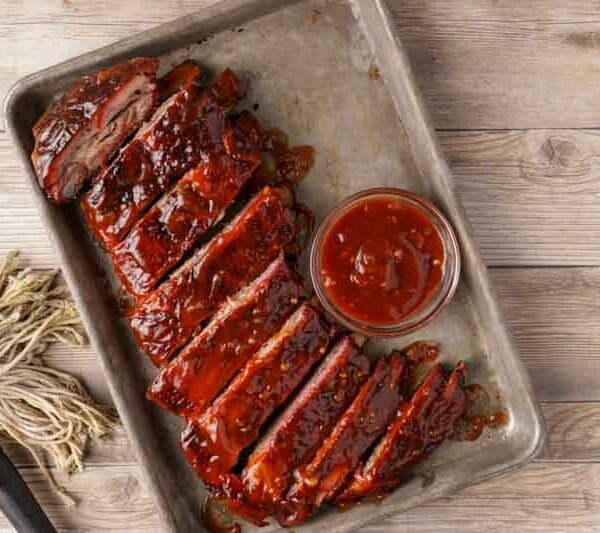
Big Green Egg Baby Back Ribs are one of my favorite things to cook when I want classic backyard BBQ. They are smoky, tender, sticky, and always worth the wait.
Baby back ribs come from the upper part of the pig’s rib cage, near the pork loin. They are shorter, leaner, and more curved than spare ribs. That means they cook a little faster, but they can also dry out if you rush them. That is why the Big Green Egg works so well for this recipe. It holds steady heat, adds clean smoke flavor, and creates the right environment for low and slow cooking.
For this cook, I set the Egg up for indirect heat and let the ribs slowly become tender. Then I glaze them at the end for that sticky BBQ finish. This method gives you ribs with great color, balanced smoke, and meat that pulls cleanly from the bone.
Table of Contents
Get My NEW Book
The Ultimate Big Green Egg Cookbook
Quick Answer: How Long Do Baby Back Ribs Take on a Big Green Egg?
Baby back ribs take about 4½ to 5½ hours on a Big Green Egg when cooked indirect at 225°F to 250°F. The ribs are done when they pass the bend test and the meat pulls cleanly from the bone.
Prepping the Baby Back Ribs
The ingredients for these Big Green Egg Baby Back Ribs are simple: baby back ribs, yellow mustard, and your favorite BBQ rub. The mustard acts as a binder and helps the seasoning stick to the ribs. You will not taste it in the finished product.
I prefer baby back ribs because they cook a little faster than spare ribs and have a leaner bite. Look for racks with good meat coverage and minimal surface fat.
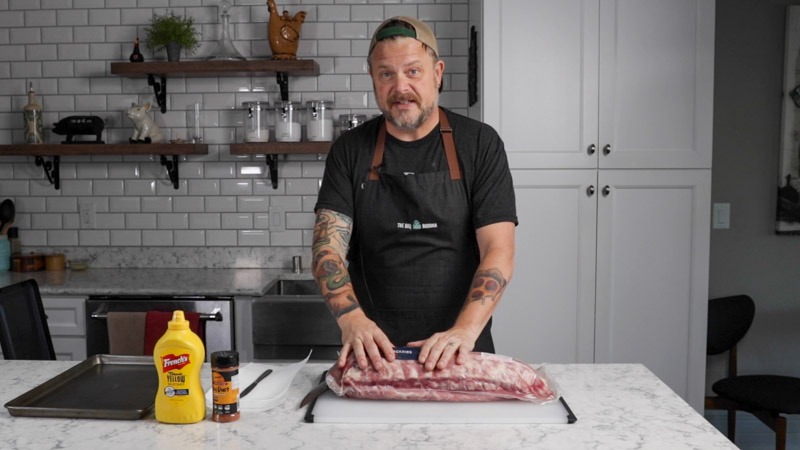
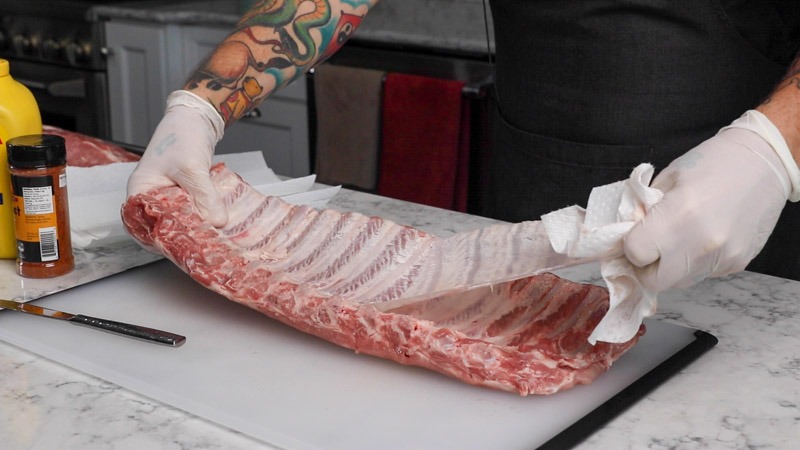
Before seasoning, trim any excess fat and remove the membrane from the bone side of the ribs. This helps the rub adhere better and creates a more tender bite.
Pulling the Membrane
When it comes to prepping your ribs, one of the most debated topics in the BBQ world is the silver skin that thin, papery membrane on the bone side of the rack. In the video, I walk you through exactly how to remove it using a butter knife and a paper towel, but over the years, I’ve realized that while it’s a “pro” move, it isn’t always a dealbreaker for a successful cook.
Here is a quick look at the pros and cons so you can decide for yourself:
To Pull or Not to Pull?
The Pros of Removing It:
- Better Flavor Penetration: The membrane is essentially a waterproof barrier. Removing it allows your rub and that beautiful blue smoke to penetrate the meat from both sides.
- Better Texture: Without the membrane, you get a much cleaner “bite” off the bone. You won’t have to deal with that slightly chewy, leathery texture that sometimes remains after the cook.
The Cons (Why You Might Skip It):
- The Hassle Factor: Let’s be honest, sometimes that membrane just doesn’t want to cooperate. If you’re in a rush or feeding a crowd, skipping this step saves you a few minutes of frustration.
- It Holds Things Together: If you like your ribs “fall-off-the-bone” tender, keeping the membrane intact can actually act like a safety net, helping the rack stay together when you’re moving it off the Egg.
- It Can Render Out: If you’re cooking at a slightly higher temp (like my “hot and fast” method), that membrane often crisps up or breaks down enough that most people won’t even notice it’s there.
My Take: If I have the time, I pull it. I love getting as much flavor into the meat as possible. But if you’re fired up and ready to go and don’t want to mess with it? Don’t sweat it. Your ribs will still be delicious. Give it a shot both ways and see which one fits your style!
Seasoning The Baby Back Ribs
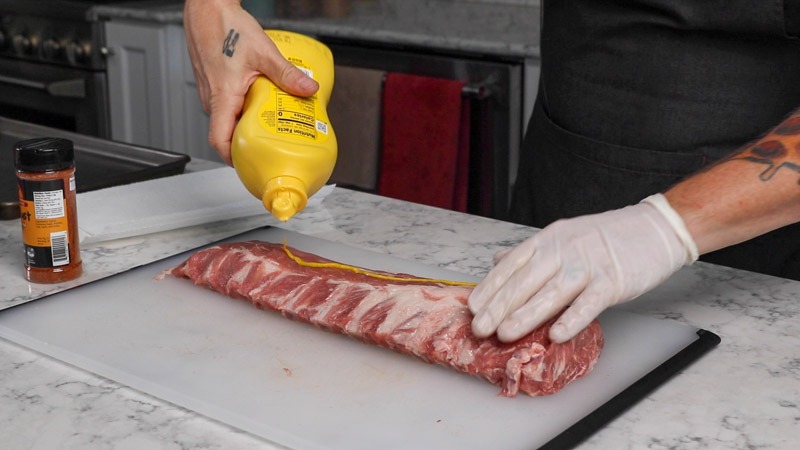
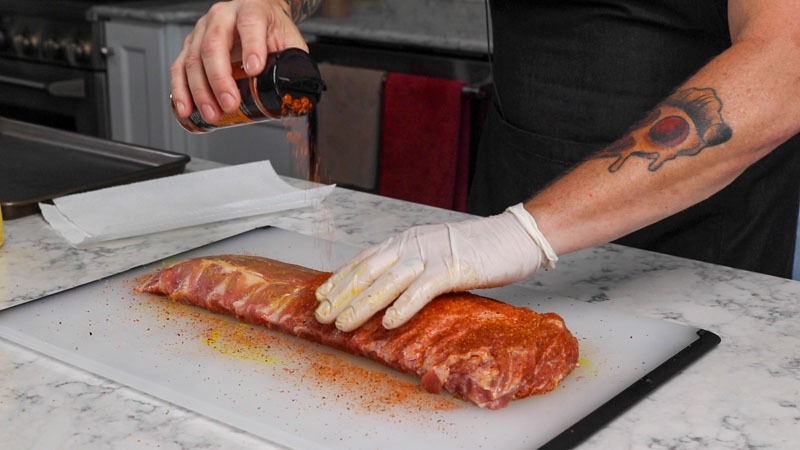
Apply a small amount of mustard as a binder for the BBQ rub then generously season the front and back of the ribs with the rub. For this cook, I used one of my favorite rubs Dizzy Pig Dizzy Dust.
Setting up The Big Green Egg
For this cook I preheated the Big Green Egg to 225° and used 2 chunks of hickory wood and 2 chunks of apple wood. NOTE: Check out my post to learn how to set your Big Green Egg for low and slow cooking.
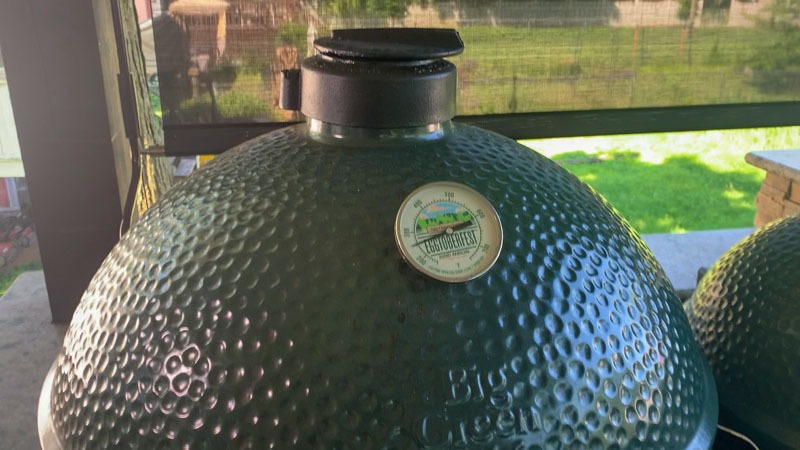
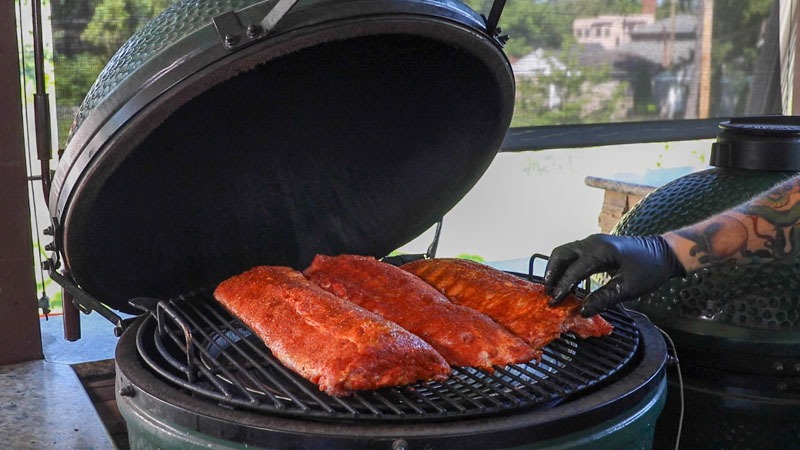
I placed the ribs inside and had an aluminum drip pan sitting on top of my ConvEGGtor to catch the drippings.
Spritzing the Baby Back Ribs
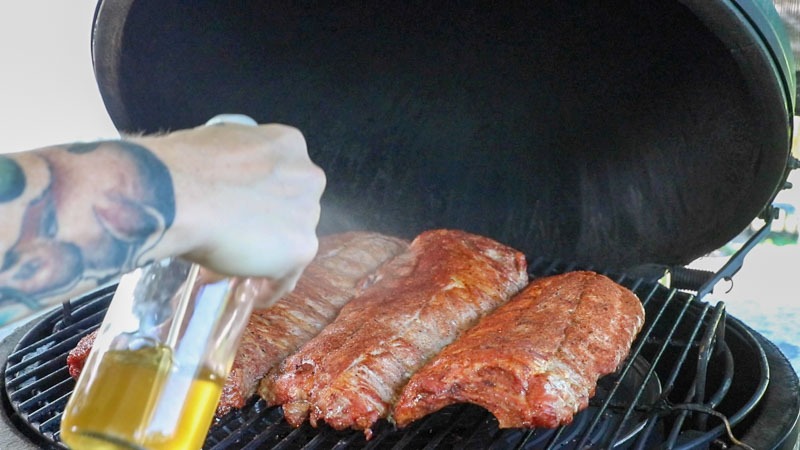
Leave the ribs alone for the first hour. After that check on them every hour and spritz with a mix of apple juice and apple cider. I’m often asked if spritzing is really worth the extra effort, and for me, it’s all about building that perfect layer of color and moisture. By hitting the ribs with a little apple juice or cider vinegar every 45 minutes or so, you keep the surface cool and tacky, which actually helps the smoke “stick” to the meat and form a deeper smoke ring. Plus, that hit of moisture prevents the edges from drying out and adds a subtle hint of sweetness that balances out the savory rub perfectly. It’s a simple way to level up the bark without overcomplicating the cook.
When are the Baby Back Ribs Ready
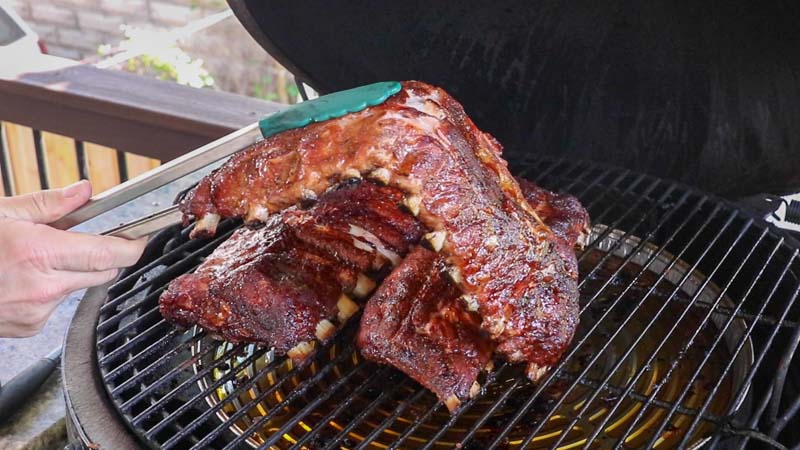
Between 4 – 5 hours, start checking the ribs to see if the meat has pulled back from the bone and they pass the “bend test.” While the bend test is a classic, I also like to verify with my Thermapen to be 100% sure; you’re looking for an internal temperature right around 195°F to 203°F. At this range, the collagen has fully broken down, meaning the meat will be butter-tender but still have enough structure to stay on the bone until you take that first bite.
Sauce & Set the Baby Back Ribs
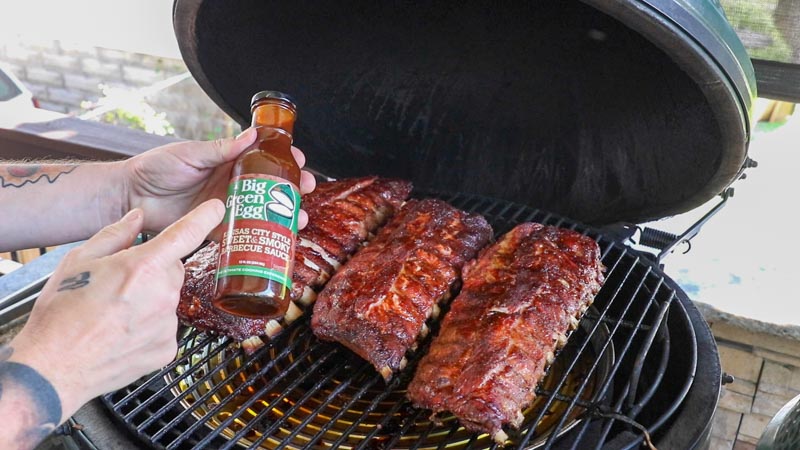
Now bump the temp to 275° and pour some BBQ sauce on the ribs. Using a brush apply evenly to the surface of the ribs. Let the sauced ribs cook in that higher temp for 10 minutes or so until the sauce sets.
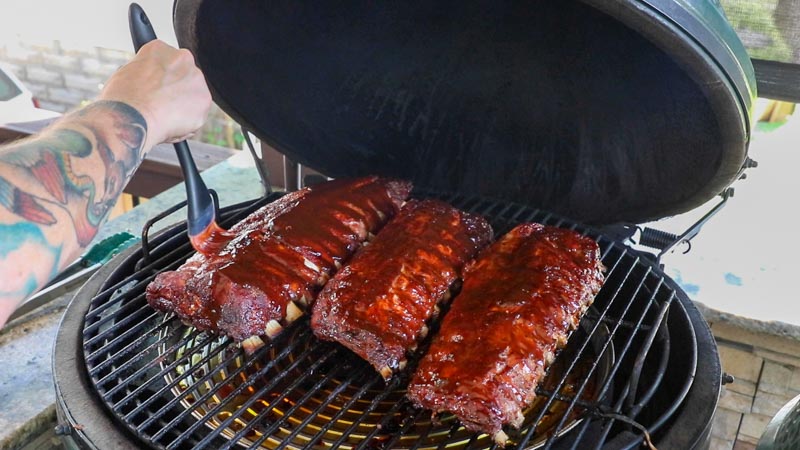
Once that sauce has tightened up and looks like a sticky glaze, it’s time to pull them off the Egg and let them rest for about 10 to 15 minutes. Giving the ribs a little breather allows those juices to redistribute, ensuring every bite is as tender as the last. After that, just slice between the bones and get ready to serve up the best ribs your backyard has ever seen.
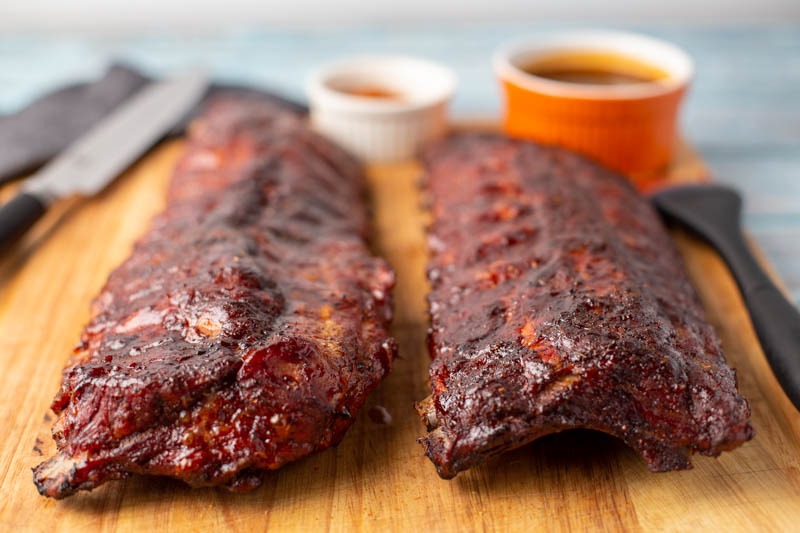
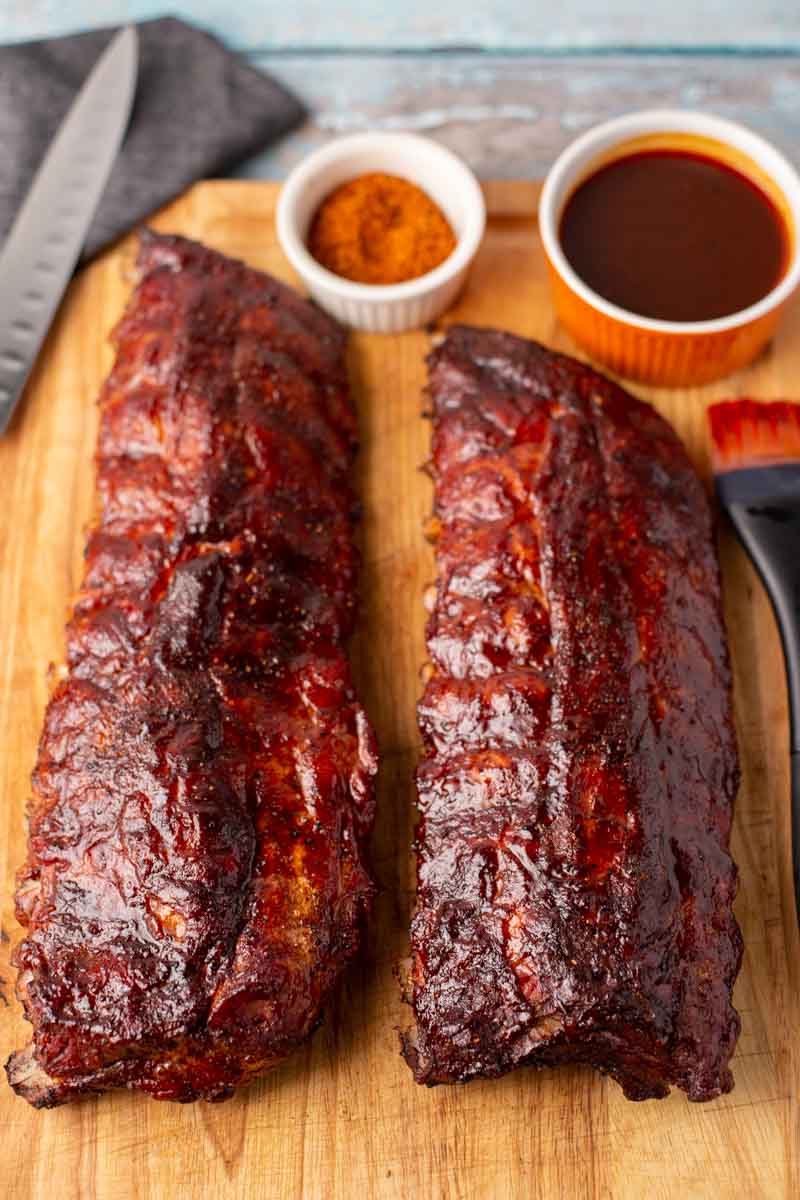
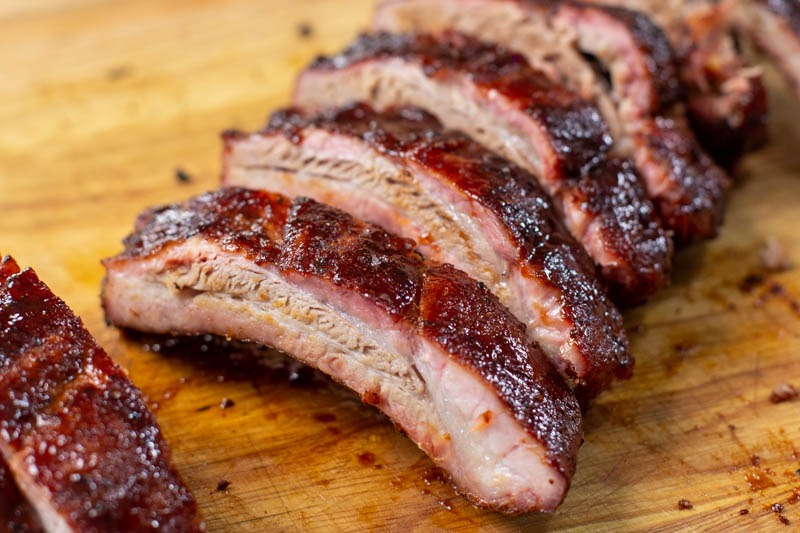
Big Green Egg Baby Back Ribs
Ingredients
Ribs ingredients:
- 2 racks Baby Back Ribs
- 3 tbsp Yellow mustard
- 4 tbsp BBQ rub, per rack
Spritz ingredients:
- 1 c apple juice
- 1 c apple cider vinegar
- 1/2 tsp Hot sauce
- 1/2 tsp Worcestershire sauce
Instructions
- Preheat your Big Green Egg to 225° using 3 – 4 chunks of smoking wood
- As the grill comes up to temp start prepping your ribs
- Pull the membrane off the bone side and trim excess fat and loose ends
- Put a small amount of yellow mustard on the front and back of the ribs and spread evenly to create a binder for your rub
- Apply the rub front and back until evenly coated
- Place the ribs in the Big Green Egg and leave alone for the first hour
- After that check on the ribs every hour and spray with a mix of apple juice, cider vinegar, hot sauce and Worcestershire sauce
- After 3 hours bump the temp to 250°
- At the 4.5 hour mark check the ribs to see if the meat has pulled away from the bone and the ribs pass the “bend test” if so move on to next step and if not wait 30 minutes and check again
- At the 5 hour mark (or when your ribs pass the previous step) glaze with BBQ sauce and bump temp to 275°
- Let the ribs sit in the BIg Green Egg another 10 minutes until the sauce sets
- Pull, slice and enjoy!
Nutrition information is automatically calculated, so should only be used as an approximation.




I tried this recipe for my first cook on my Big Green Egg, and it turned out perfect! Already looking forward to the next cook. Thanks!
Happy this worked out for you!
Cooking this today. Followed your Wagyu burger recipe and they were bomb, so figured I’d give these a shot. Newbie here so love the basics and clear instructions. Any recommendations for a spritzer? Bought a Traeger spritzer at HD and it was broken in two sprays.
Thanks for the kind words. As for spritzer bottle, my wife got me these and they work pretty well: https://link.amazon/B03eYB7pD
Thank you!
That was supposed to be 5-Stars. Sorry, don’t know how to edit.
Subscribed! Really enjoying the content on this platform.
Thank you 🙏
I had a quick question regarding the third point, could you clarify?
What third point?