This post contains affiliate links. Please see our disclosure policy.
This recipe was in the lineup for the winning team at the 2017 EGGtoberfest held this past October. I am proud to be a member of the team that won the people’s choice award: Team EGGcellent Eats. The team features an all-star lineup of some of the best Big Green Egg chefs on social media. This is my recipe that was featured during the event and helped the team take home top honors at the festival. Now sit back, grab an ice cold Reformation Cadence Belgian Style Ale, and enjoy this recipe for Big Green Egg Crispy Asian Glazed Pork Belly.
Big Green Egg Crispy Asian Glazed Pork Belly
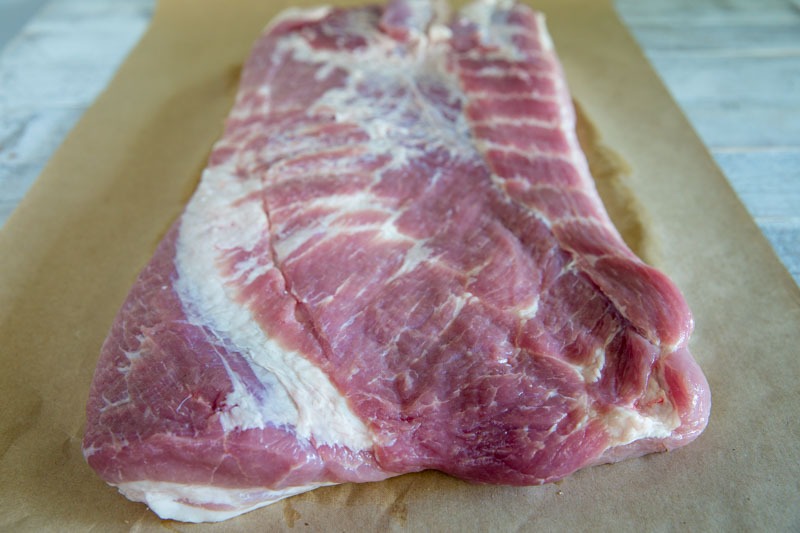
Start with a nice slab of pork belly (I found this one at Costco).
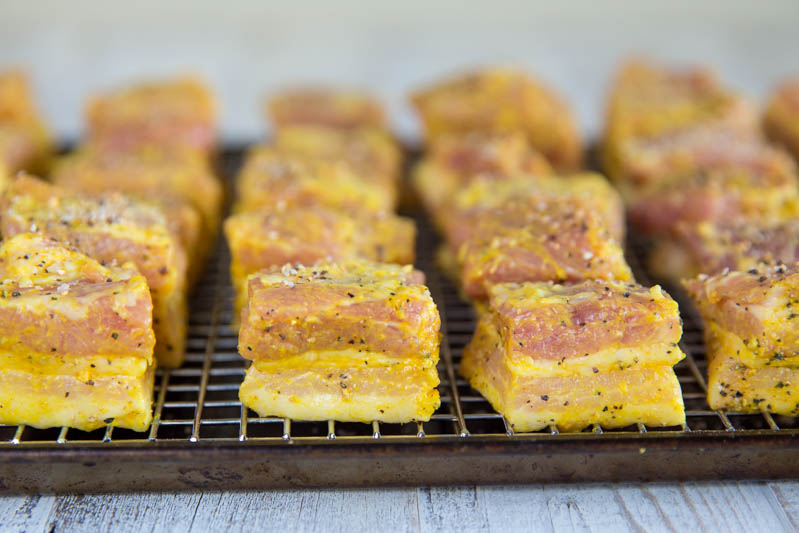
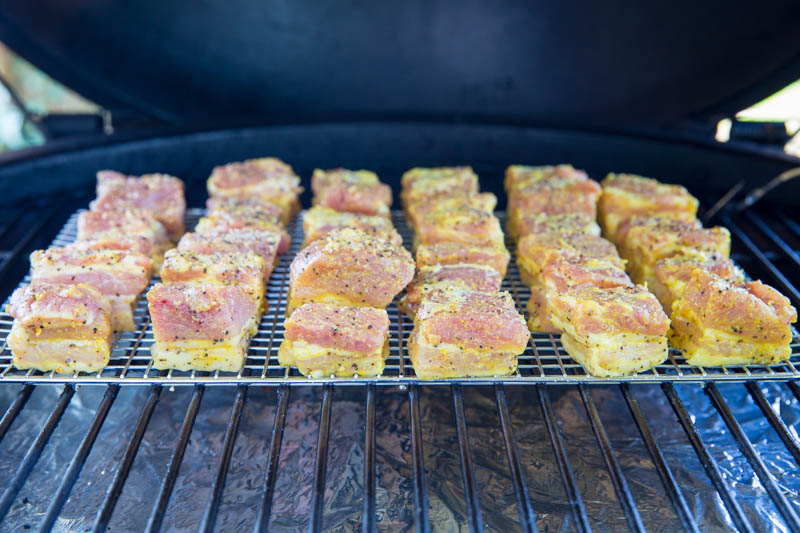
Remove the skin and cut the pork belly into cubes. Cover with a little yellow mustard (for a base), salt, pepper, and place on a wire cooling rack.
Set up your Big Green Egg for indirect cooking at 275°. Use your favorite wood to add some smoke flavor to the pork belly. Place the wire rack (with the pork belly) on the cooking grid of your Big Green Egg.
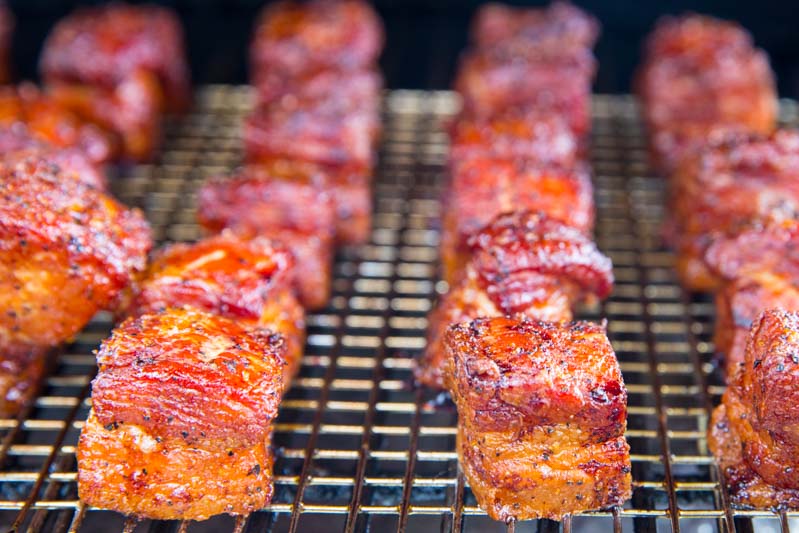
Cook the pork belly for 2-3 hours or until the internal temp measures 190°. Spray the pork belly with apple juice every 45 minutes until done.
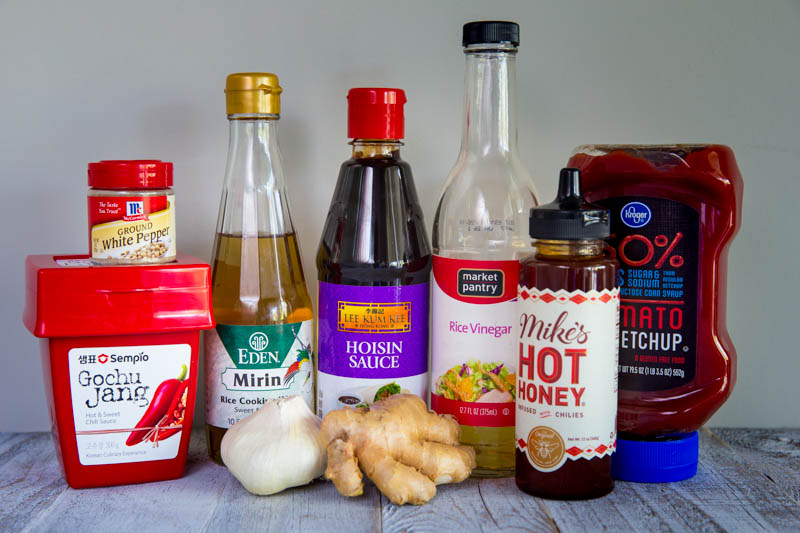
For the Asian glaze use Gochujang, white pepper, Mirin, Hoison, Rice Vinegar, Honey, Ketchup, Garlic, and Ginger.
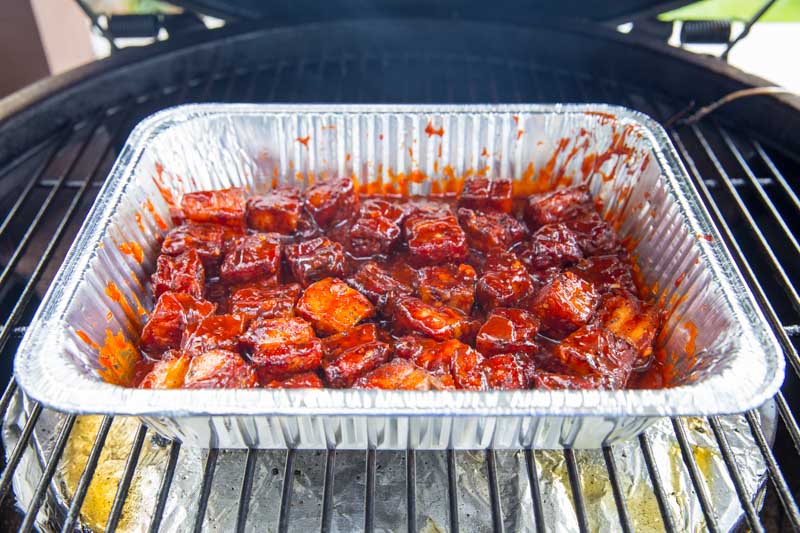
Once the pork belly is up to temp, pull them off the wire rack and place inside of an aluminum pan.
Pour the Asian Glaze all over the pork belly and cover the pan with a piece of foil. Place the pan back inside the Big Green Egg for another 30 minutes to an hour until the glaze sets.
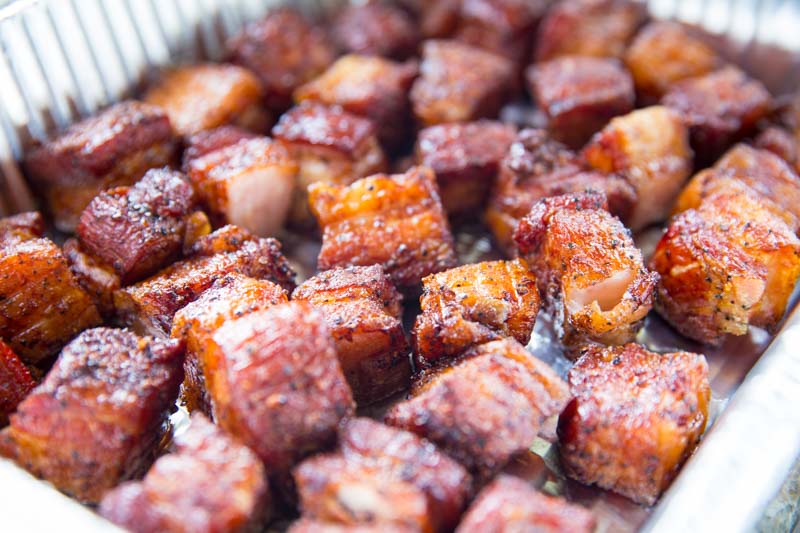
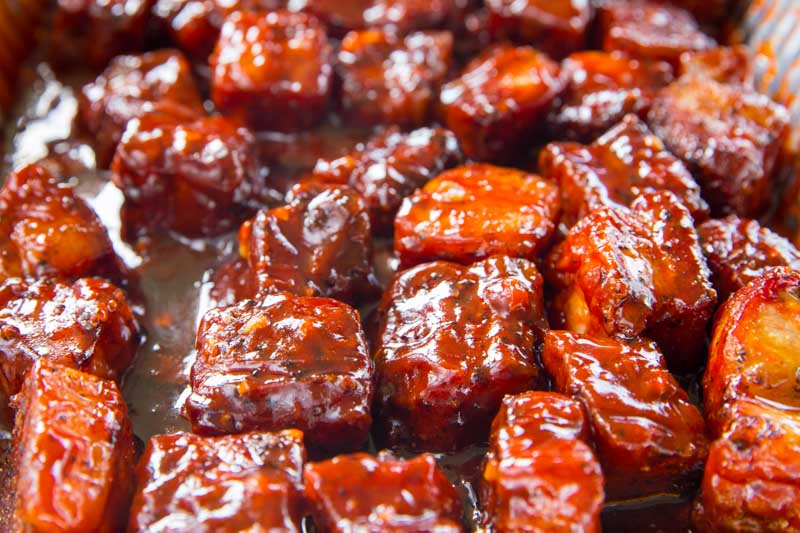
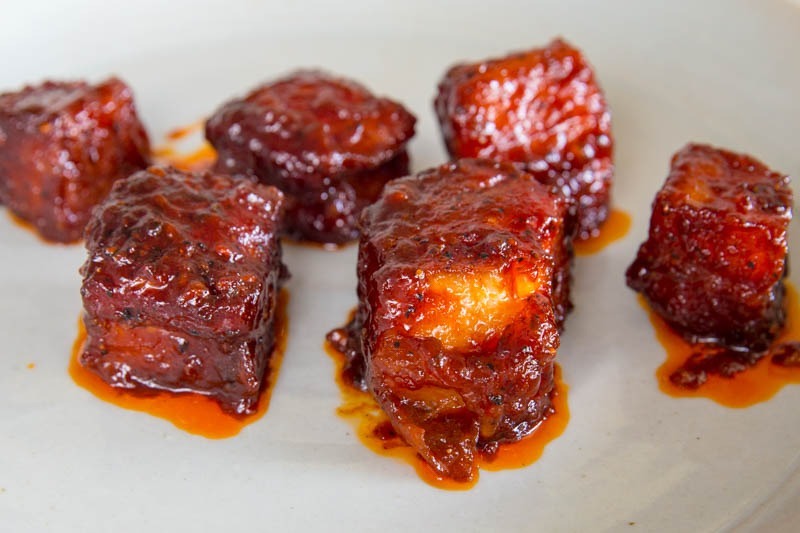
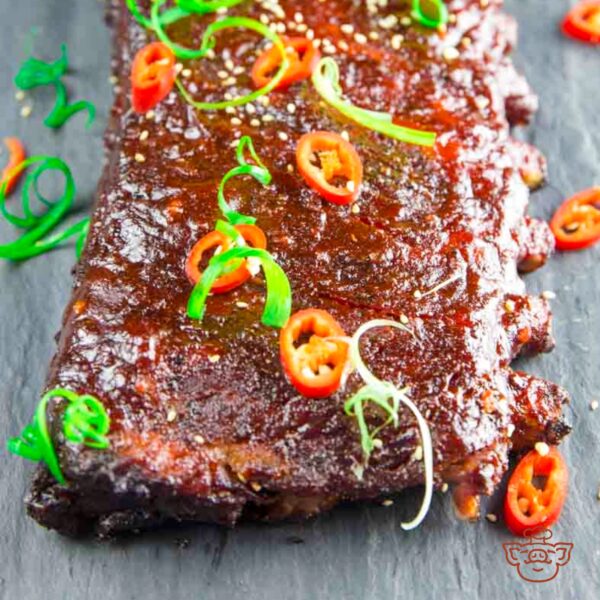
Once the Asian glaze has reduced and the pork belly is tender, serve and smile! You will want to put the glaze on everything.
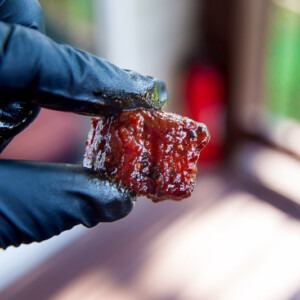
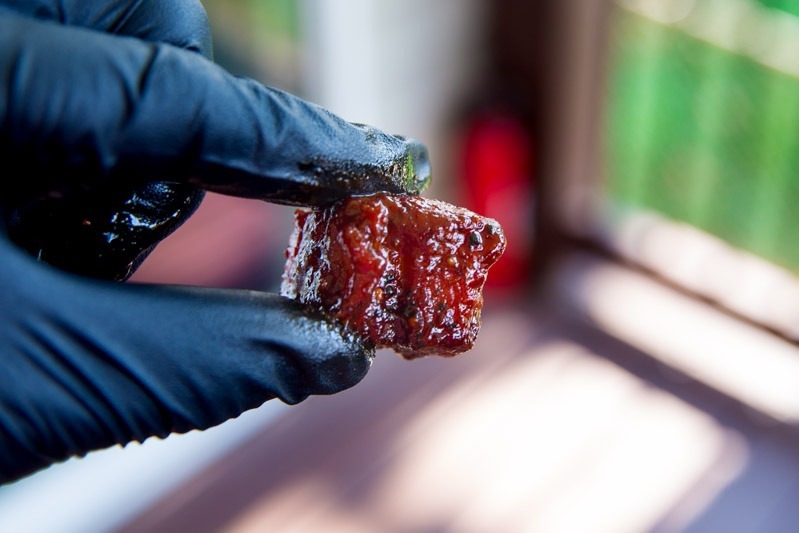
Big Green Egg Crispy Asian Glazed Pork Belly
Ingredients
- 1.5 Lbs pork belly
- ½ cup gochujang
- ¼ cup hoisin sauce
- ¼ cup ketchup
- ¼ cup honey
- ¼ cup soy sauce
- ¼ cup Korean rice wine
- 1 tablespoons unseasoned rice vinegar
- 2 " piece fresh ginger, finely gated
- 3 cloves of finely grated garlic
- 1 tablespoons ground white pepper
Instructions
- Skin and cube pork belly
- Cover with salt and pepper and place on a wire cooling rack
- Preheat your Big Green Egg to 275° using a ConvEGGerator for indirect cooking
- Once the BGE is up to temp place wire rack with pork belly into the BGE
- Cook for 2-3 hours or until the temp reaches 190° spritzing with apple juice 30-45 minutes
- Mix the remaining ingredients to make the Asian Glaze
- Pull the pork pieces off the wire rack and place in an aluminum pan
- Pour the Asian Glaze over the pork belly cubes and cover with foil
- Place back into the BGE for another 30 minutes to 1 hour allowing the glaze to reduce and pork to get tender
- Serve and smile
Nutrition information is automatically calculated, so should only be used as an approximation.




Damn, Chris!
I finally got around to trying this recipe – WOW! The wife thinks it may have been the best thing I’ve ever grilled. (She also thinks it was my recipe. Sorry.)
Keep up the great work, my friend – you’re my secret weapon.
Claim it as yours 🙂
This looks delish. I’m going to try it out tomorrow. Did you use any wood when cooking for smoke flavor?
Yes Renee… I used a chunk or two of apple wood for this.
2Thumbs UP!! I left the skin on. Any Advice to make the Skin Crunchy??
Thanks! I love this recipe. I always cook this with the skin off. However, if you leave it on sear it at the end to get the crispy skin like you would a duck breast.
Does this really take 4 hours to cook – seems like it might dry out? I’ve smoked pork belly (the thick kind from Costco) and it only took about 2 hours. This recipe looks amazing I am definitely going to try this one.
It’s wont be dry if you keep the temp low. Let me know how it turns out.
So I made it yesterday and it only took 3 hours came out perfect.
Awesome!
Tried this out today. Pulled after 2.5 hours, and was totally overdone, smaller pieces charcoaled and inedible. Was pretty close to 275 the whole time without variation. Sauce / marinade was delicious, but only put back in for 5 mins because everything was too cooked already. Internal Temp was at 190 so seemed right, but charcoaled and dried out. I did spray w Apple juice every hour. Any ideas?
Sorry about that brother! Did you check temp during the cook as you spritzed? Perhaps they measured 190° before the 3-hour mark? If so, that would explain what happened. Every cook can be different. I will surely update those instructions in this post.
I think the key here is depending on how fatty the cut will depend on how long it takes to render out. I did mine on low heat (225 – my smoker is cheap so it doesn’t get that hot) and for about 3 hours. I added the sauce and wrapped in foil for the last hour. Mine didn’t come out that crispy, likely due to the low heat, but the family loved it so mission accomplished.
I tried this recipe and it only took 2 hours on 225 to cook completely. I used an electric smoker – with cherry wood chips. And I did not spray with apple juice. But everything else I followed the recipe. I think it depends also how thick your pieces are and how much fat content your meat has.
Love it and you’re spot on with the comments!
No need to apologize, it’s amateur hour over here, and I’m just getting some reps. I should have just kept a closer eye on them. Followed up over the weekend with a Pork Butt and nailed it
Thanks for recipe, it was amazing. I used the pork to fill up some bao buns along with quick-pickled daikon-carrot-cucumber mix with some codiander on top and a bit of sriracha-mayo for the buns.
My goodness that sounds delicious!
it looks like in the first photo you coated the pork belly with mustard before you put the salt and pepper on it is that right?
That’s correct… used for a binder… can’t taste it in the end. You can use hot sauce or a neutral oil for the same thing.
Or mayo!