This post contains affiliate links. Please see our disclosure policy.
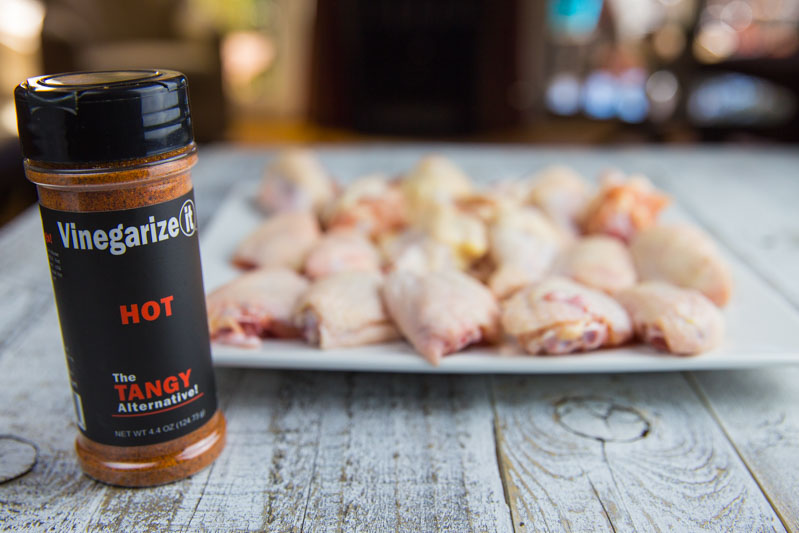
When I first published a version of this recipe back in 2016, it was centered around a sponsored product called Vinegarize IT. Like many things in the ever-changing world of BBQ, that product eventually vanished from the shelves. However, the requests for that specific salt and vinegar punch never stopped hitting my inbox.
As we move into 2026, I decided it was time to stop relying on a discontinued bottle and instead master the profile myself. I headed back to the Big Green Egg to develop a DIY salt and vinegar hot rub that captures that addictive, puckering tang without needing a specialty store. This refresh is about more than just salvaging an old post; it is about giving you a from-scratch way to achieve restaurant-quality results for Big Green Egg Crispy Salt and Vinegar Hot Wings.
By pivoting to this method, you get that signature crunch and zing right in your backyard, using ingredients you can keep in your pantry year-round.
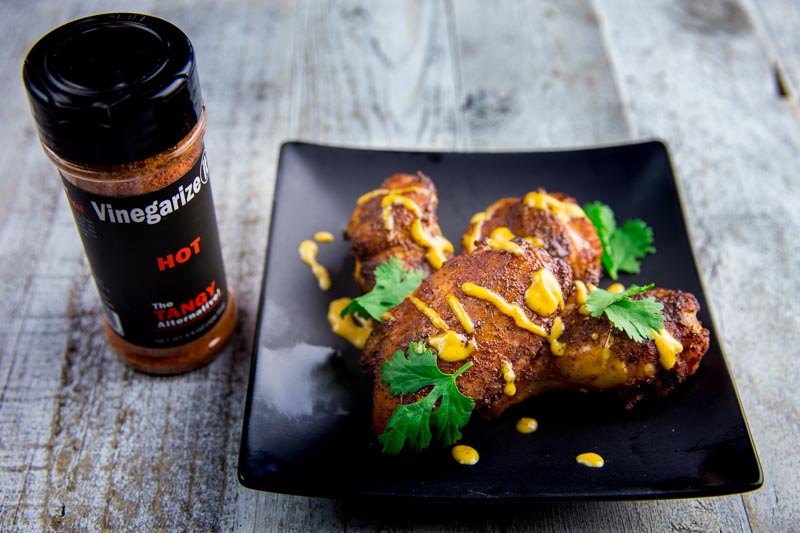
Table of Contents
Get My NEW Book
The Ultimate Big Green Egg Cookbook

The DIY Salt and Vinegar Hot Rub
The challenge with vinegar on the grill is that liquid vinegar evaporates, often taking the flavor with it. To get that “Salt and Vinegar Chip” intensity on a chicken wing, we use a dry-rub approach. This blend uses Vinegar Powder as the star ingredient. It provides the concentrated acid hit that liquid vinegar just can’t match at high heat.
The “Buddha’s Zing” Spice Blend
- 1/2 tsp Citric Acid (Optional): Use this if you want that extra “super-sour” finish.
- 4 tbsp Vinegar Powder: The source of that signature pucker.
- 2 tbsp Kosher Salt: To balance the acidity.
- 1 tbsp Cayenne Pepper: For that “Hot” wing kick (adjust to your heat preference).
- 1 tbsp Garlic Powder: For depth and aromatics.
- 1 tsp White Pepper: Adds a different kind of floral heat that cuts through the fat.
Step 1: The Prep and the “Tack”
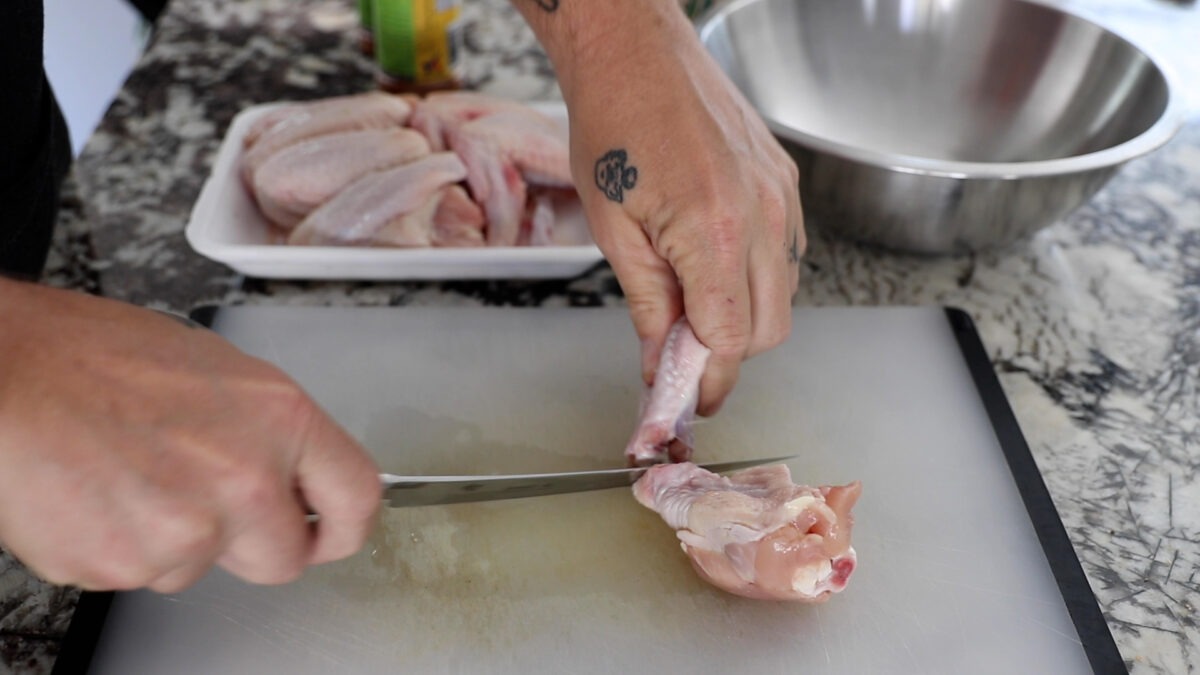
- Dry the Wings: Start with 3 lbs of wings. If they aren’t already broken down, separate the drums and the flats and remove the tips. This ensures every piece has maximum surface area exposed for that vinegar crunch.
- The Binder: Instead of the usual mustard binder, use a light mist of Apple Cider Vinegar. It is thin, acidic, and starts building the flavor profile immediately.
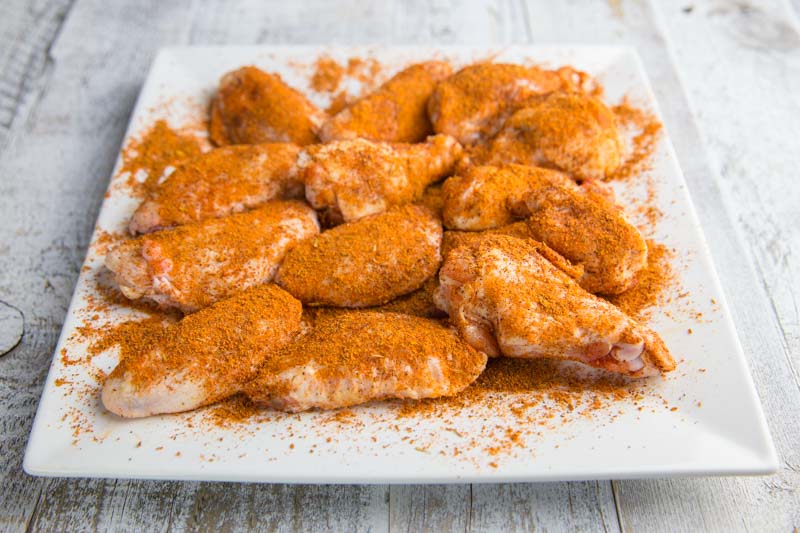
- The Dusting: In a large bowl, toss the wings with 3/4 of your DIY spice blend. Save the remaining 1/4 of the rub for the final “shakedown” once the wings come off the Egg.
Step 2: The Smoke Phase (Low and Slow)
To get the perfect Big Green Egg Crispy Salt and Vinegar Hot Wings, we start with a two stage cooking process. The first stage is all about flavor and tenderness. By starting low and slow, we allow the smoke to penetrate the meat and the vinegar powder to “set” into the skin without burning.
The Setup:
- Indirect Cooking: Set up your Big Green Egg with the ConvEGGtor (legs up) for indirect heat.
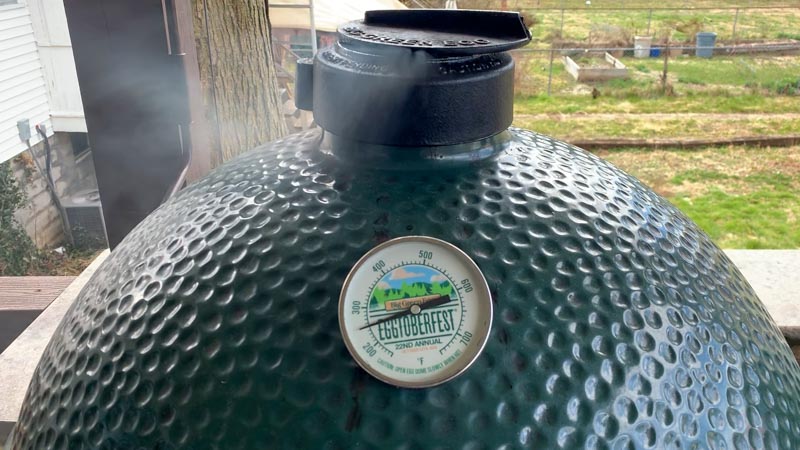
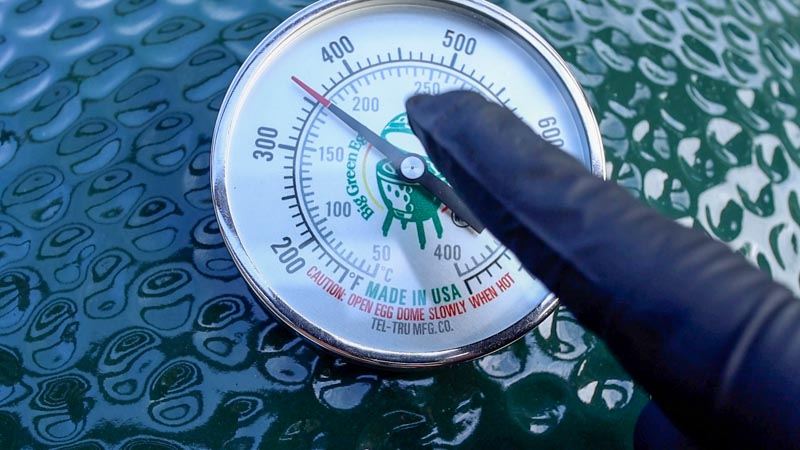
- Stabilize the Temp: Bring the Egg to a steady 250°F. This lower temperature ensures the wings cook evenly and stay juicy on the inside.
- The Wood: Add a few chunks of Apple wood to the charcoal. I prefer Apple for this recipe because its mild, fruity sweetness is the perfect counterpoint to the sharp acidity of the vinegar rub.
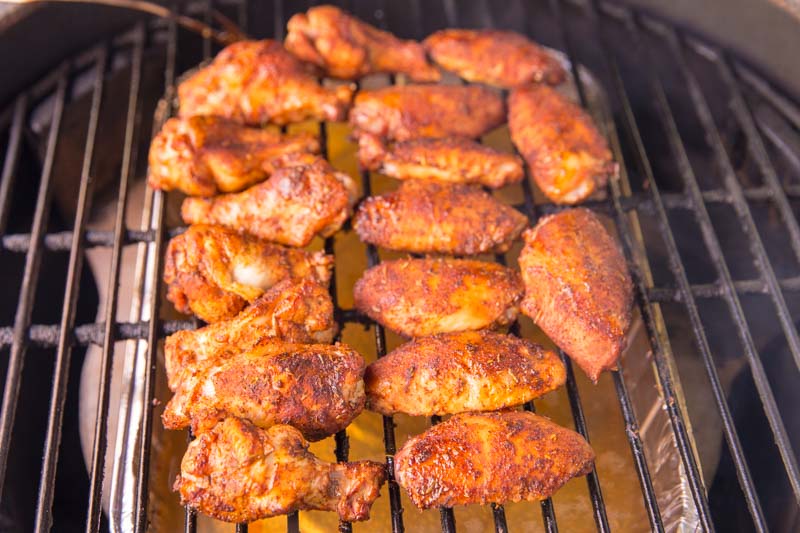
The Cook: Place the seasoned wings on the grate, making sure they aren’t touching so the air can circulate around each one. Close the dome and let them bathe in that Apple smoke for 1.5 hours.
At the end of this phase, your wings will have taken on a beautiful golden hue from the smoke, and the fat will have begun to render down. But we aren’t done yet. To get that signature “Buddha” crunch, we have to talk about the finish.
Step 3: The Sear (The High-Heat Finish)
After the wings have absorbed that sweet Apple smoke for 90 minutes, they are tender and flavorful, but the skin still needs to reach that “shatter-crisp” level. To do this, we are going to transition the Big Green Egg for a high-heat finish.
- Adjust the Setup: Carefully remove the wings and the ConvEGGtor (use heat-resistant gloves!). Reset the Big Green Egg for direct cooking by placing the grate back over the coals.
- The Raised Direct Setup: For the best results, use an Eggspander or an elevated grate to cook Raised Direct. By keeping the wings a few inches higher above the coals, you get the intense heat needed for crisping without the risk of flare-ups scorching your DIY vinegar rub.
- Crank the Heat: Open the vents and stabilize the temperature at 350°F. This is the sweet spot where the remaining chicken fat renders out completely, frying the skin from the inside out.
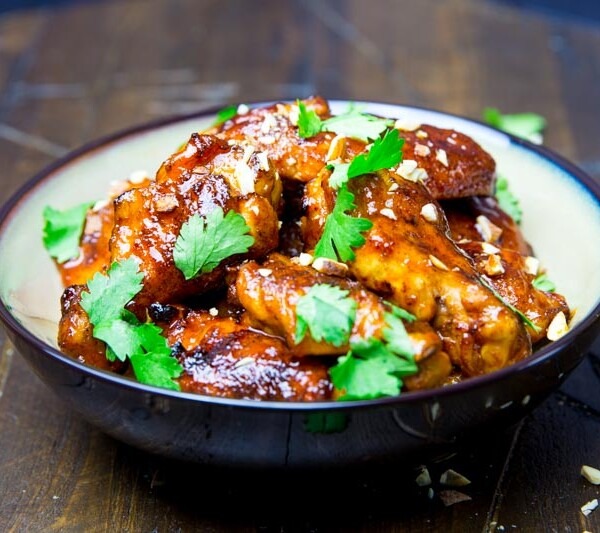
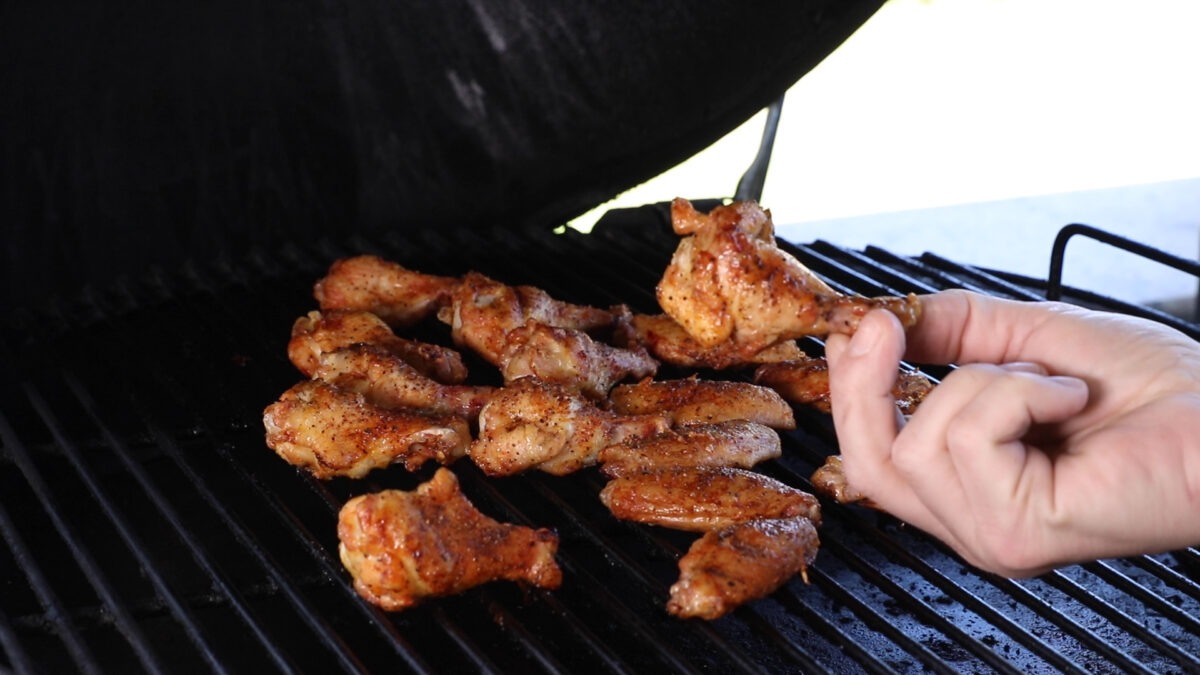
- The Final Crisp: Place the wings back on the grate directly over the hot coals. Stay close! This step only takes about 5 to 8 minutes. Flip the wings frequently to avoid charring the DIY rub. You are looking for the skin to become tight, bubbly, and incredibly crispy.
Step 4: The Final “Vinegar Shakedown”
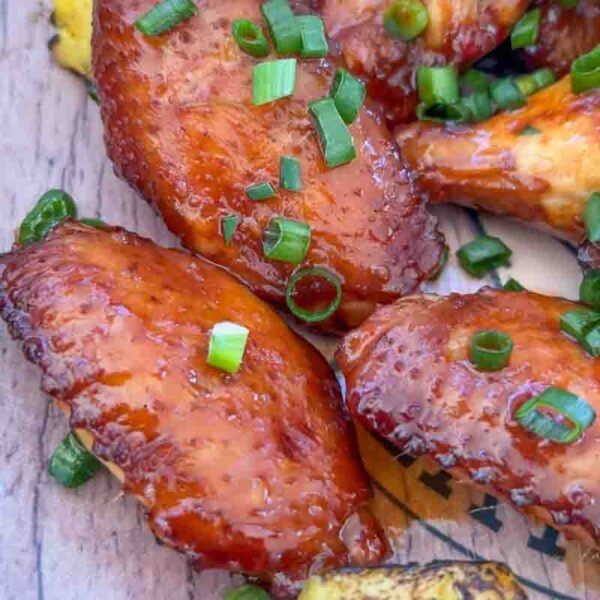
The secret to truly elite Big Green Egg Crispy Salt and Vinegar Hot Wings is the double-dusting. High heat can mellow out the sharpness of vinegar, so we want to reapply that “zing” while the wings are piping hot and the skin is at its tackiest.
The Result: The residual heat will “lock” the fresh vinegar powder onto the crispy skin, giving you that immediate, puckering punch the moment you take a bite.
The Toss: Immediately move the wings from the Egg into a large stainless steel bowl.
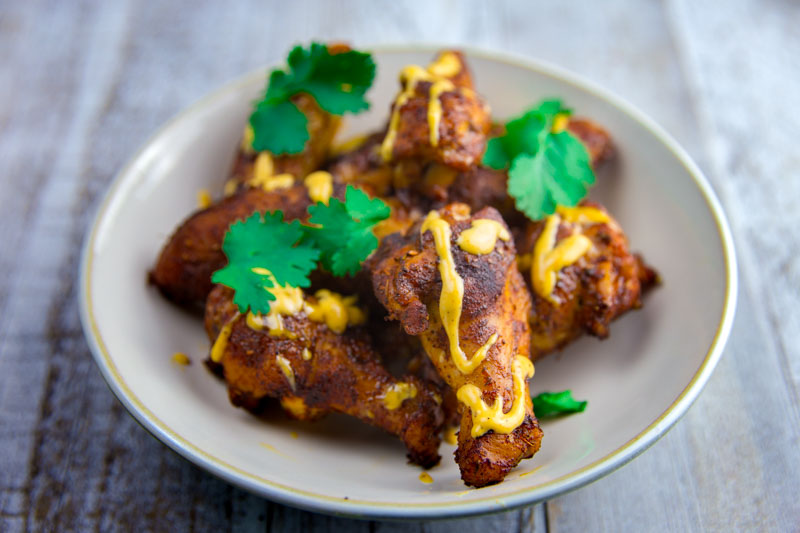
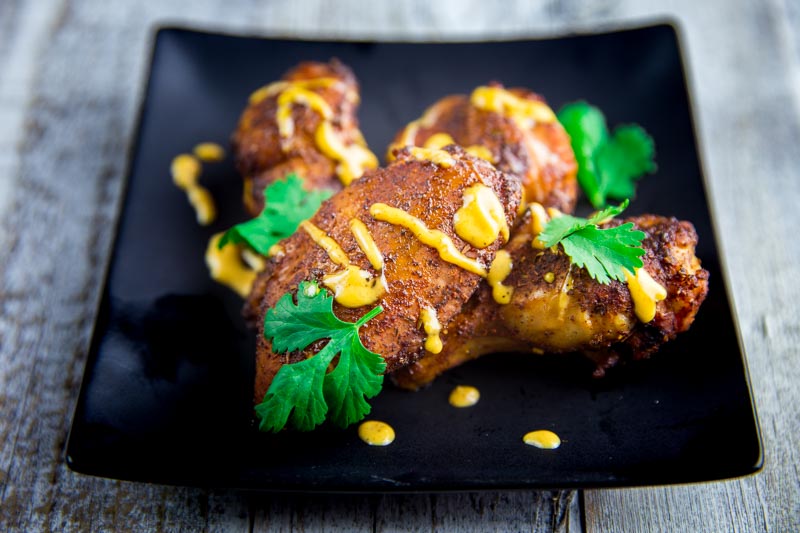
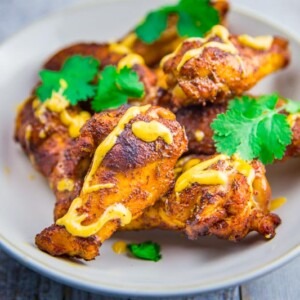
The Finish: While the wings are still glistening, sprinkle the remaining 1/4 of your DIY “Buddha’s Zing” rub over them.
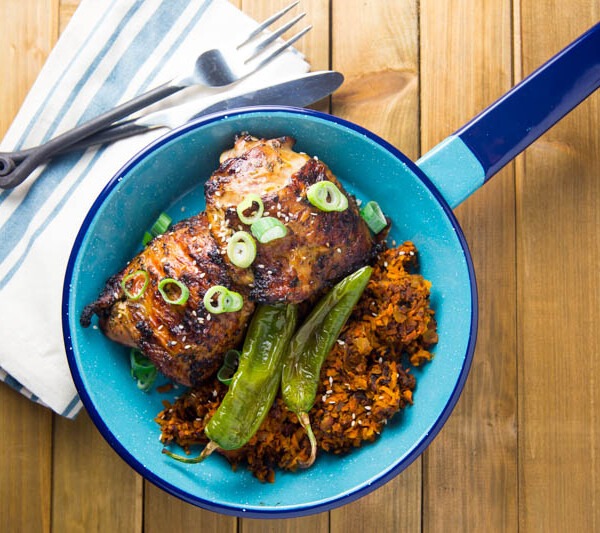
The “So What?” — Why You Need These Wings
In the world of BBQ, everyone has a Buffalo or a Lemon Pepper recipe, but Big Green Egg Crispy Salt and Vinegar Hot Wings are the ultimate curveball for your next cookout. It is that rare flavor profile that hits every part of your palate: the sharp, puckering acidity of the vinegar, the savory depth of the garlic, and a clean heat that builds without overpowering the meat.
By using the two-stage cook—starting with a low-and-slow Apple wood smoke and finishing with a high-heat “Raised Direct” sear—you get the best of both worlds. You get that deep, smoky pit flavor combined with a skin so crispy it rivals anything that ever came out of a deep fryer.
Whether you are salvaging a classic recipe like I did or looking for a new game-day staple, these wings prove that you don’t need a shelf full of specialty products to create something world-class. Grab some vinegar powder, fire up the Egg, and get ready for a wing that people will be talking about long after the bones are cleared away.
Big Green Egg Crispy Salt and Vinegar Hot Wings
Ingredients
Chicken Wings Ingredients:
- 3 pounds Chicken Wings, drums and flats separated
- 2 tbsp Apple Cider Vinegar
Buddha’s Zing Rub Ingredients:
- 4 tbsp Vinegar Powder
- 2 tbsp Kosher Salt
- 1 tbsp Cayenne Pepper
- 1 tbsp Garlic Powder
- 1 tsp White Pepper
- 1/2 tsp Citric Acid
Instructions
- Prep the Wings: Separate the drums and the flats. Use paper towels to pat the chicken pieces extremely dry.
- Apply the Binder: Place the wings in a large bowl and toss with 2 tablespoons of Apple Cider Vinegar until lightly coated.
- Season: In a small bowl, mix all the DIY rub ingredients together. Toss the wings with 3/4 of this mixture, ensuring even coverage. Save the remaining 1/4 for the final step.
- Set Up the Big Green Egg: Prepare your Big Green Egg for indirect cooking with the ConvEGGtor (legs up). Add Apple wood chunks to the charcoal and stabilize the temperature at 250°F.
- The Smoke Phase: Place the wings on the grate and smoke for 1.5 hours. The wings should be tender and have a golden-red hue from the Apple wood.
- The Transition: Carefully remove the wings and the ConvEGGtor from the Egg.
- Raised Direct Setup: Reset the Egg for direct cooking, ideally using a raised grate or Eggspander system. Open the vents to bring the temperature up to 350°F.
- The High-Heat Finish: Place the wings back on the raised grate. Grill for 5 to 8 minutes, flipping frequently, until the skin is bubbly and crispy.
- The Final Shakedown: Remove the wings from the heat and immediately place them in a clean bowl. Toss with the remaining 1/4 of the DIY rub while they are still hot and glistening.
- Serve: Plate immediately while the skin is at its maximum "shatter-crisp" level.
Nutrition information is automatically calculated, so should only be used as an approximation.