This post contains affiliate links. Please see our disclosure policy.
Honoring the spirit of a long holiday weekend requires a spread that reflects the significance of the occasion and the joy of gathering with friends. Many outdoor cooks feel overwhelmed by managing multiple proteins, but learning How to Smoke Big Green Egg Ribs and Chicken simultaneously provides a sophisticated solution for your next backyard gathering. This specific cook remains a favorite because it offers guests a diverse choice between tender baby back ribs and a vibrant, herb-forward spatchcock chicken. You should focus on the strategic timing of each element to ensure both the ribs and the poultry reach their peak internal temperature at the exact same moment. By utilizing the versatile landscape of the Big Green Egg, you can achieve a professional-grade feast that balances two distinct flavor profiles over a single fire.
The success of this dual-protein strategy lies in the contrast between the smoky glaze of the ribs and the unique aromatic notes of a fresh poultry rub. You should expect a bright and savory experience that elevates the standard BBQ plate into a gourmet celebration. Because you are using a specific wood-smoke blend, the natural sweetness of the pork stays distinct from the crisp, rendered skin of the chicken. This technique transforms a standard Sunday afternoon into an efficient masterclass in multi-zone heat management. You will find that a carefully timed transition from the prep station to the raised grid creates a seamless flow for the entire meal. Pour yourself a cold IPA and prepare your prep station for the ultimate Big Green Egg Ribs and Chicken Feast.
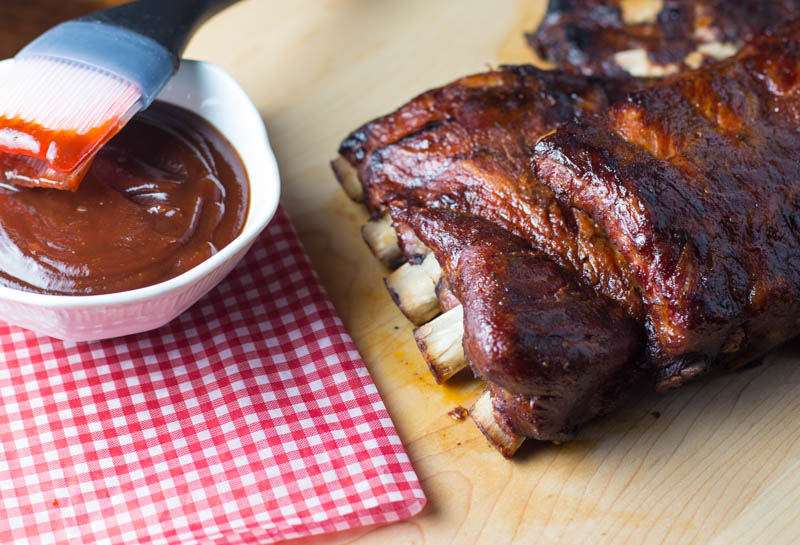
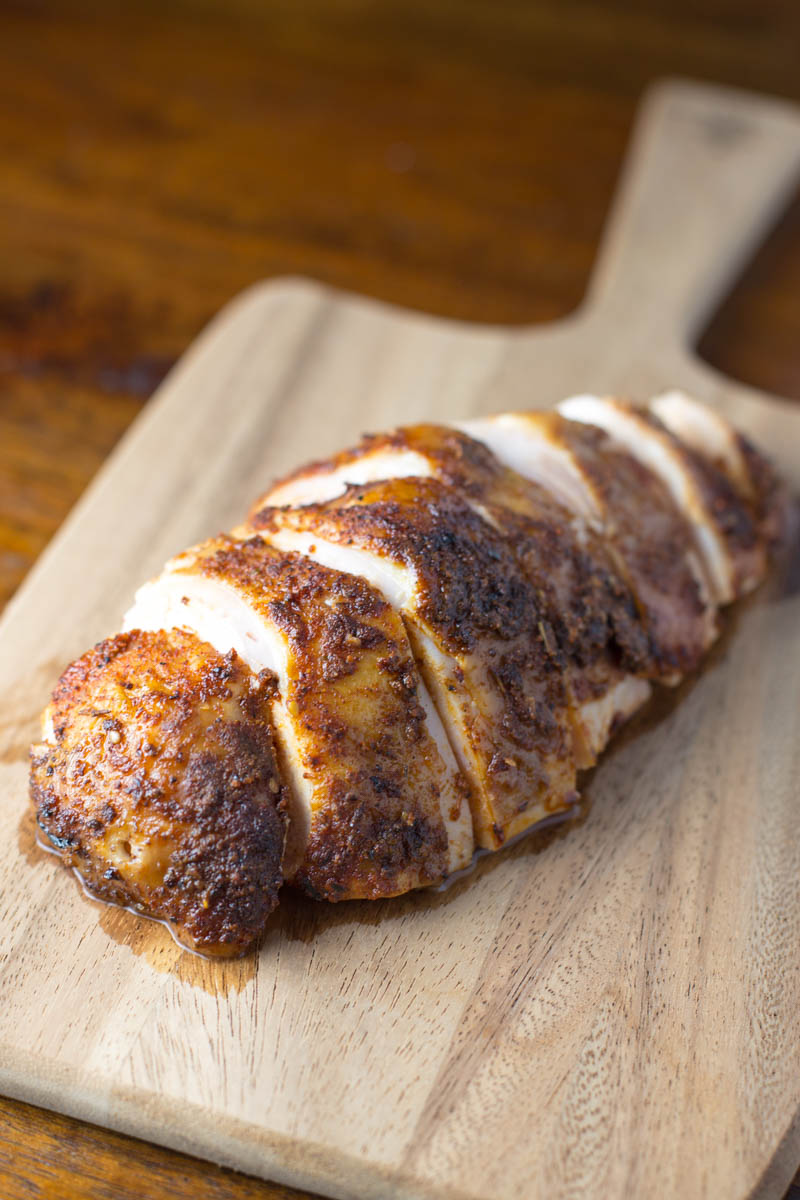
Table of Contents
- Step 1: Prepping and Seasoning the Ribs
- Step 2: Spatchcocking and Seasoning the Chicken
- Step 3: BGE Setup and Temperature Control
- Step 4: The Cook Strategy and Timing
- Step 5: Managing the First Hour and the Foil Wrap
- Step 6: The Indirect Setup and The Stack
- Step 7: The Final Stretch and The Pull
- Step 8: Slicing and Serving the Feast
- Big Green Egg Ribs and Chicken: The Ultimate Sunday BBQ Feast Recipe
Get My NEW Book
The Ultimate Big Green Egg Cookbook

Step 1: Prepping and Seasoning the Ribs
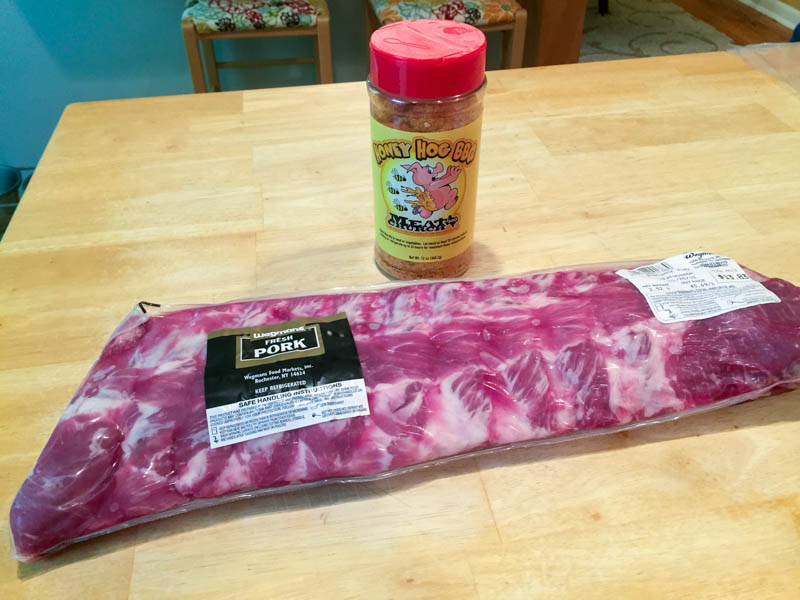
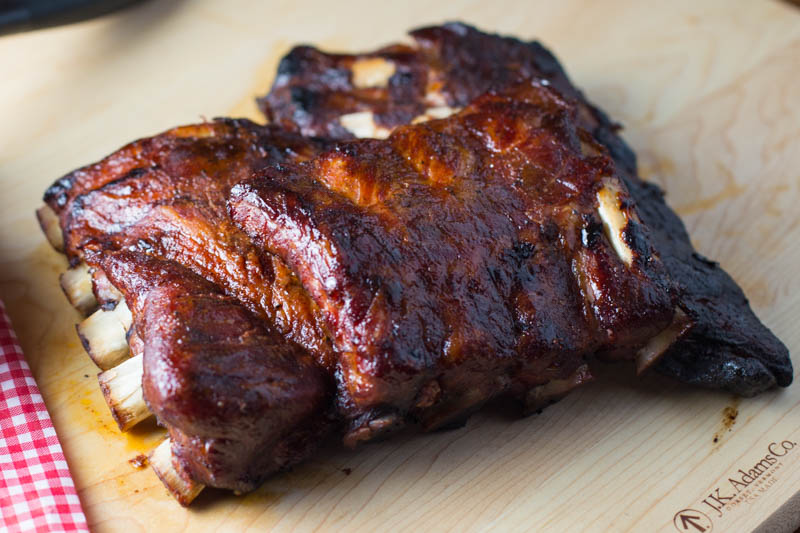
Achieving a professional-grade bark and tender bite starts with a meticulous approach to your pork preparation. You should start by selecting a high-quality rack of baby back ribs and removing the tough silver skin from the bone side. This process provides a way for the smoke and seasoning to penetrate the meat directly from both sides. You will find that a paper towel offers the best grip for pulling that membrane away in one clean motion.
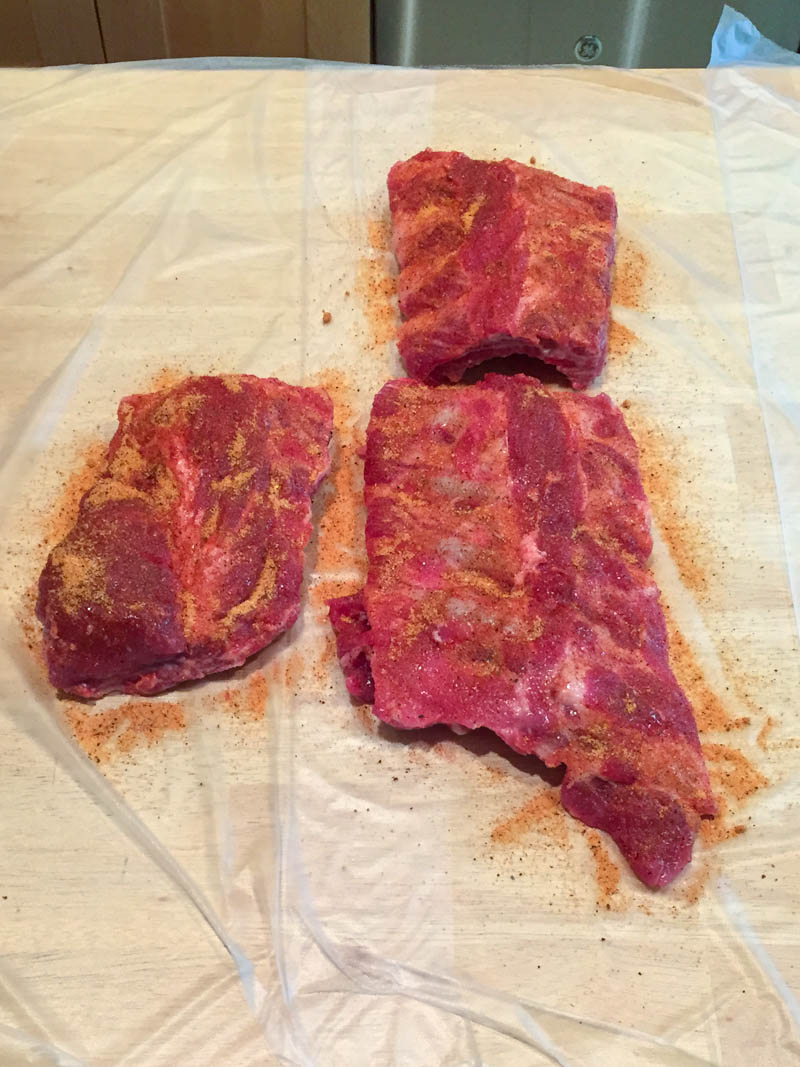
Next, you must cut the rack into three distinct sections before applying your flavor profile. This technique allows for better airflow around the meat and ensures each piece fits perfectly on a crowded Big Green Egg grid. You should apply a light coating of yellow mustard to act as a binder for your dry rub. This process ensures the spices adhere to the pork without altering the final flavor of the meat. For this cook, you should utilize a sweet and savory favorite like Meat Church Honey Hog. This rub provides a beautiful mahogany color and a honey-forward sweetness that pairs perfectly with pork. If you want to experiment with other flavors, you should consider these popular options:
- Blues Hog Dry Rub: A versatile seasoning that offers a classic sweet and smoky profile.
- Bad Byron’s Butt Rub: A sugar-free option that highlights black pepper and onion for a savory crust.
- Heath Riles BBQ Cherry Rub: This blend adds a unique fruity sweetness and a vibrant red hue to the ribs.
- Kosmos Q Killer Bee Honey Rub: A bold honey-based seasoning that creates an incredible glaze.
Because the mustard binder disappears during the cook, you should focus on an even, heavy coating of your chosen rub. This technique creates the foundation for a professional bark on your Big Green Egg Ribs and Chicken. Once the ribs are seasoned, you should let them sweat at room temperature while you prepare the poultry.
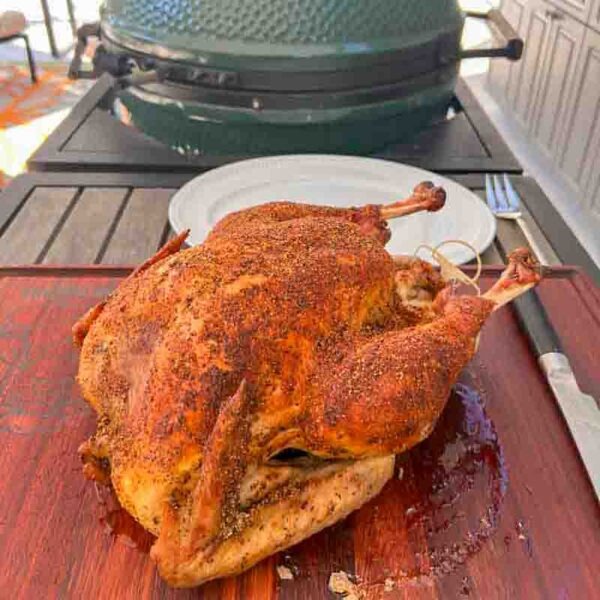
Step 2: Spatchcocking and Seasoning the Chicken
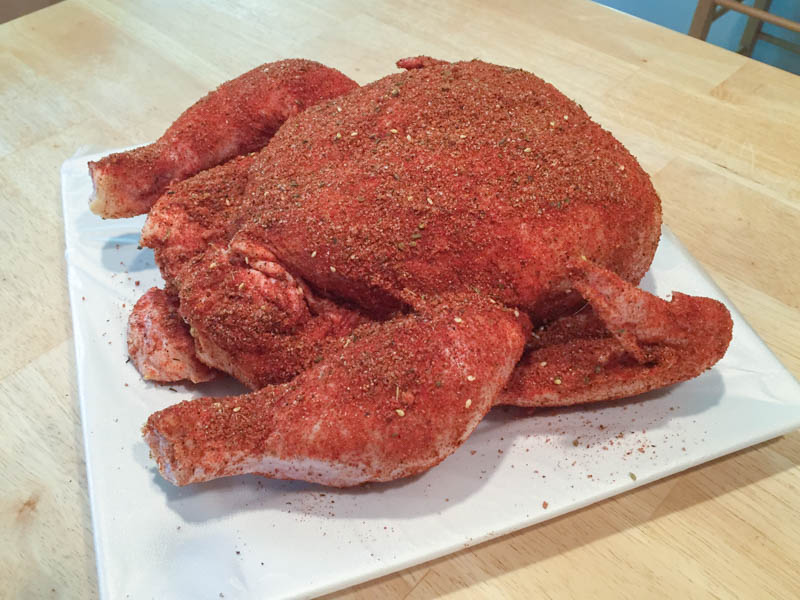
Creating a centerpiece for your Sunday BBQ requires a bold departure from traditional poultry preparation. You should start by spatchcocking the chicken to ensure a faster and more even cook on the Big Green Egg. This process provides a way for the heat to reach every part of the bird simultaneously for juicy meat and crispy skin. You will find that using a pair of heavy-duty poultry shears is the most efficient method for removing the backbone.
Next, you must apply a unique and aromatic flavor profile to the bird. For this specific cook, you should utilize a vibrant Za’atar rub inspired by a Tasting Table recipe. This Middle Eastern spice blend features a sophisticated mix of dried thyme, toasted sesame seeds, and tangy sumac. You should think of Za’atar as the culinary equivalent of curry in Indian cuisine because it offers a complex and savory depth. This technique allows the herbal notes to penetrate the skin and perfume the meat from the inside out. Because you are modifying the traditional beer can method, the spatchcocked chicken will lay flat and absorb the wood smoke more effectively. This process guarantees a professional look and a flavor profile that stands out from your standard BBQ fare. Once the chicken is rubbed and ready, you should finalize your Big Green Egg configuration.
Step 3: BGE Setup and Temperature Control
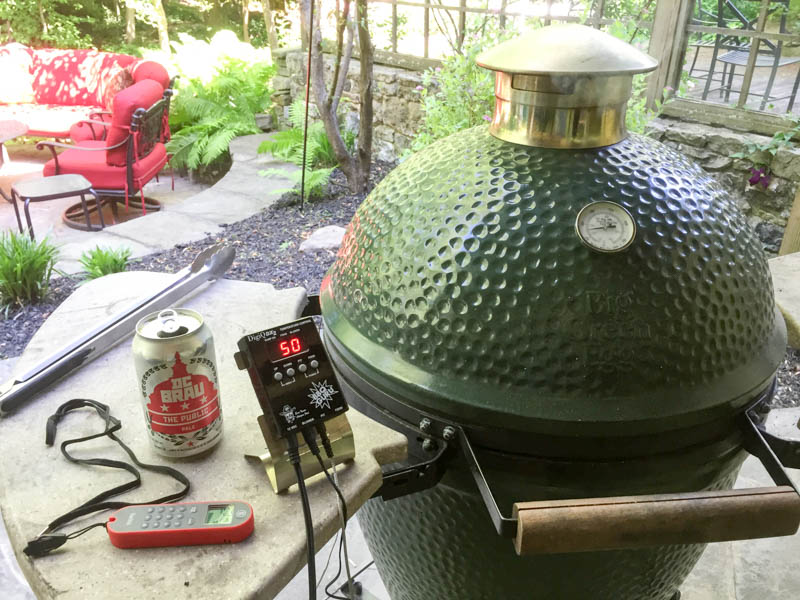
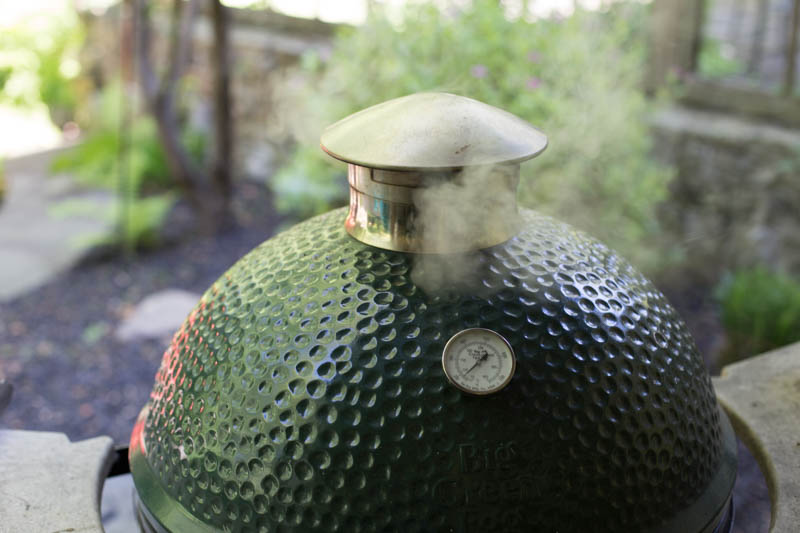
Managing a dual-protein cook requires an unwavering focus on maintaining a steady and predictable environment inside your ceramic cooker. You should start by preparing your Big Green Egg for a raised direct cook at a consistent temperature of 250°F. This process provides a way for the gentle, radiant heat to tenderize the rib meat while the smoke from the charcoal infuses the pork. You will find that a stable fire is the most critical element for ensuring both the pork and the poultry finish together on your multi-level rack.
To maintain this precise environment, you must utilize a reliable temperature control system to monitor the air intake. For this specific cook, you should consider using a device like the DigiQ to regulate the airflow for the duration of the afternoon. This technique allows you to set the target temperature and let the fan do the work of keeping the charcoal burning at a steady rate. While the DigiQ remains a classic tool for many pitmasters, you should also look at these modern and highly effective alternatives currently available:
- ThermoWorks Billows: A powerful fan system that integrates seamlessly with the Signals Wi-Fi thermometer for complete remote monitoring.
- Flame Boss 500: A sophisticated controller that offers a large display and cloud-based tracking for your entire cook history.
- Egg IT (Big Green Egg Temperature Controller): The official BGE accessory designed specifically to fit the bottom vent with a high-tech interface.
- Smartfire BBQ Controller: A compact and water-resistant unit that provides professional-grade precision through a streamlined smartphone app.
Because these controllers handle the heavy lifting of vent adjustments, you can focus on the timing and the quality of the smoke. This process ensures your Big Green Egg Ribs and Chicken benefit from a clean burn and a consistent thermal profile. Once your temperature is locked in at 250°F, you should prepare to load the meat onto the top level of your rack system.
Step 4: The Cook Strategy and Timing
Achieving a professional-grade bark on your ribs while roasting the chicken requires a strategic use of your grill’s vertical space. You should start by setting up your Big Green Egg for a raised direct cook at a steady temperature of 250°F. This process provides a way for the radiant heat to reach the pork while the smoke from the charcoal infuses the meat. You will find that using a two-tier swing rack is the most effective way to manage multiple proteins at different heights.
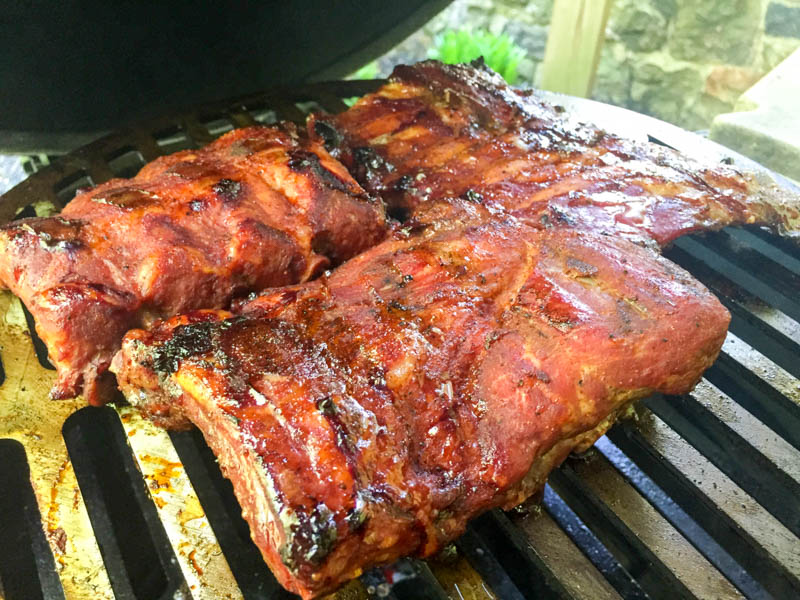
For the first hour of this Sunday feast, you must place the rib sections directly onto the top rack of your swing system. This technique ensures that the ribs benefit from the rising heat and clean smoke without being too close to the hot coals. You should utilize a specific wood blend of 2:1 Hickory to Apple to provide a robust yet sweet profile for the pork. Because the hickory offers a bold punch and the apple adds a subtle fruitiness, the resulting smoke remains perfectly balanced for both the ribs and the poultry. This process allows the fat to begin rendering and the dry rub to set into a beautiful crust. Once the ribs have enjoyed their first hour of direct heat, you should prepare to introduce the chicken to the lower level.
Step 5: Managing the First Hour and the Foil Wrap
Maintaining the moisture of your baby back ribs is essential during the initial phase of a direct heat cook. You should start by turning the rib sections once at the thirty-minute mark to ensure even exposure to the rising heat. This process provides a way for the Hickory and Apple smoke to penetrate all sides of the pork while the rub begins to caramelize. You will find that a quick rotation keeps the exterior from drying out as the fat starts to render over the coals.
To further enhance the tenderness of the meat, you must spray the ribs periodically with a light coating of apple juice. This technique provides a subtle sweetness and creates a humid environment on the surface of the pork. Because the apple juice reacts with the heat and the smoke, it helps to develop a deep and flavorful mahogany bark. After the first hour of cooking is complete, you should remove the ribs from the Big Green Egg and wrap them tightly in heavy-duty aluminum foil. This process allows the pork to braise in its own juices while you set them aside to prepare for the next stage of the feast. Once the ribs are safely wrapped, you can refocus your attention on the temperature and the configuration for the poultry.
Step 6: The Indirect Setup and The Stack
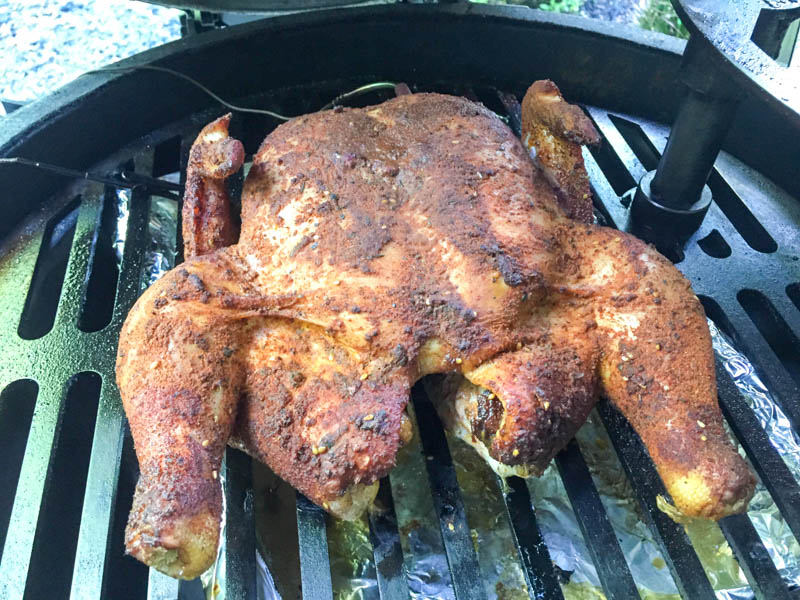
Transitioning from a raised direct sear to a low and slow environment is the critical pivot for this multi-protein feast. You should start by installing the Plate Setter (ConvEGGtor) with the legs facing up to shield the meat from the direct flame. This process provides a way for the Big Green Egg to function as a convection oven, ensuring an even distribution of heat around the entire bird. You will find that this indirect configuration is the most effective way to roast a spatchcock chicken until the dark meat is tender and the breast remains succulent.
Once your stone is in place, you must arrange your proteins strategically on the two-tier adjustable swing rack system. You should place the Za’atar-rubbed spatchcock chicken directly on the bottom rack, which sits closest to the heat deflector. This technique allows the poultry to cook steadily while the flat orientation maximizes the surface area exposed to the aromatic wood smoke. On the top rack, you should place the foil-wrapped ribs to continue their braising process in the gentle, rising heat. Because the ribs are protected by the foil, they will remain incredibly moist while the chicken roasts to a golden brown below. This process allows you to manage two different cook times and textures simultaneously without sacrificing the quality of either meat. You should monitor the temperature closely to ensure the Egg remains at a steady 250°F for the remainder of the cook.
Step 7: The Final Stretch and The Pull
Managing the final two hours of this multi-protein cook requires patience and a steady temperature of 250°F. You should start by allowing the Za’atar-rubbed chicken and the foil-wrapped ribs to roast undisturbed on their respective tiers. This process provides a way for the gentle, indirect heat to break down the connective tissue in the pork while the poultry roasts to a succulent finish. You will find that this extended braising period is the secret to achieving that coveted “fall-off-the-bone” texture for your baby back ribs.
To ensure the safety and quality of your Sunday feast, you must use a reliable instant-read thermometer like the Thermapen. You should check the thickest part of the chicken breast and the thigh once the two-hour mark approaches. Once the internal temperature reaches 165°F, you should remove the bird immediately to prevent the meat from drying out. Because the ribs have been steaming in their foil packets, they will be incredibly tender and ready to serve alongside the chicken. This technique ensures that both the pork and the poultry hit the cutting board at the exact same moment for a seamless transition to the dinner table. This process allows the vibrant Mediterranean herbs and the smoky BBQ glaze to shine in every bite.
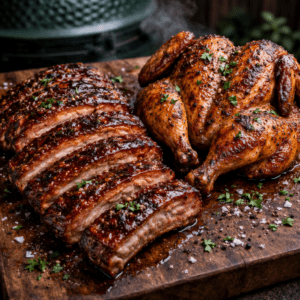
Step 8: Slicing and Serving the Feast
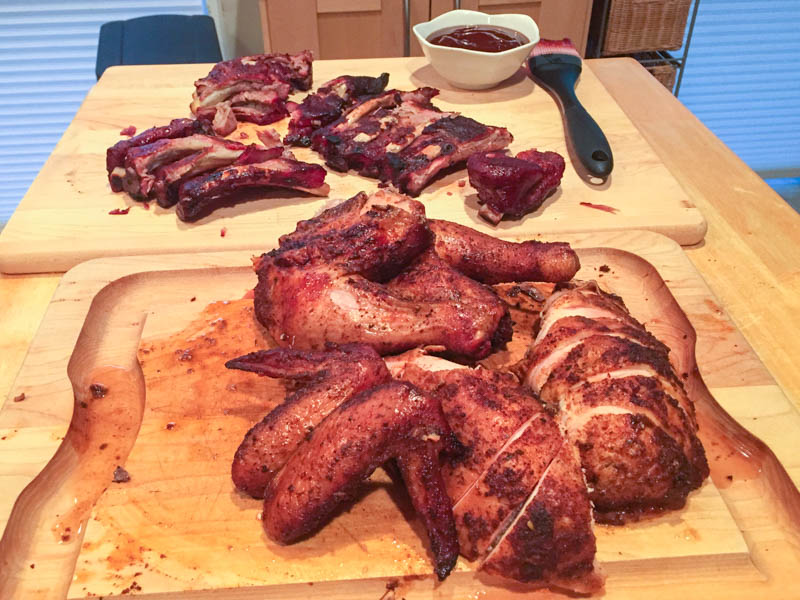
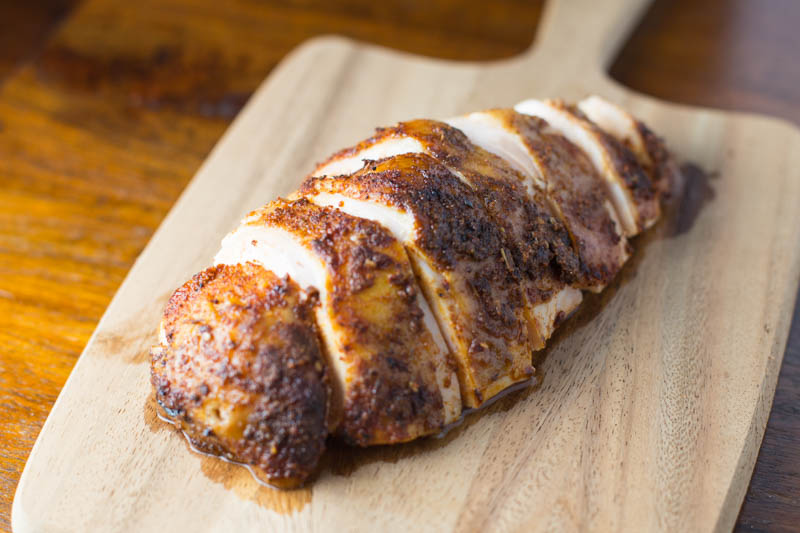
Presenting a dual-protein masterpiece requires a sharp knife and a large serving platter to showcase the variety. You should start by slicing the spatchcock chicken into clean quarters or smaller pieces to accommodate all your guests. This process provides a way to display the beautifully rendered skin and the aromatic Za’atar seasoning. You will find that the contrast between the herbal chicken and the rich, smoky ribs creates a dynamic plate that satisfies every palate.
Next, you must carefully unwrap the ribs and slice them into individual bones or two-bone portions. This technique ensures that the meat stays warm while you arrange the final spread for your family and friends. Because you managed the timing with professional precision, you can now enjoy the fruits of your labor with a cold IPA in hand. This process guarantees a memorable holiday meal that highlights the versatility of the Big Green Egg. You should serve everything immediately while the juices are flowing and the flavors are at their peak.
Big Green Egg Ribs and Chicken: The Ultimate Sunday BBQ Feast
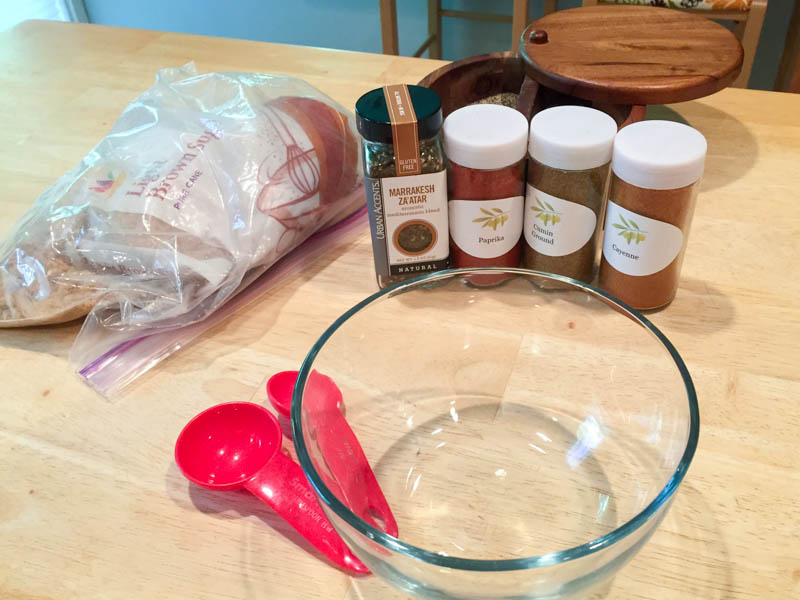
Ingredients
For the Chicken Spice Rub:
- 2 tbsp smoked paprika
- 2 tbsp light brown sugar
- 1 tbsp kosher salt
- 1 tbsp za’atar
- 1 tsp ground cumin
- 1 tsp freshly ground black pepper
- 1 tsp cayenne pepper
Chicken:
- 4-5 pound whole chicken, patted dry
Ribs:
- 1 slab baby back ribs, trimmed and cut in to sections
- 3 tbsp Meat Church Honey Hog , or your favorite BBQ rub
- 2 tbsp Yellow mustard, for slather
Instructions
- Prep Ribs: Remove the silver skin from the back of the ribs and cut the rack into three equal sections to improve airflow.
- Season Ribs: Apply a thin layer of yellow mustard as a slather before coating all sides heavily with your chosen dry rub.
- Spatchcock Chicken: Use heavy-duty poultry shears to remove the backbone of the chicken and press down firmly on the breastbone to lay it flat.
- Season Chicken: Rub the skin with a small amount of olive oil and apply the Za’atar spice blend generously across the entire surface.
- BGE Setup: Stabilize your Big Green Egg at 250°F using a Raised Direct configuration with your two-tier swing rack installed.
- Initial Rib Cook: Place the rib sections on the top rack of the swing system and cook for one hour while turning and spritzing once with apple juice.
- Wrap Ribs: Remove the ribs from the Egg after the first hour and wrap them tightly in heavy-duty aluminum foil to maintain moisture.
- Configure Indirect: Carefully insert the Plate Setter (ConvEGGtor) legs-up to transition the Egg into an indirect convection environment.
- The Stack: Position the spatchcock chicken on the bottom rack and place the foiled ribs on the top rack to begin the final phase.
- Final Braise: Maintain the temperature at 250°F for an additional two hours to allow the chicken to roast and the ribs to tenderize.
- The Pull: Remove the chicken once the internal temperature hits 165°F and pull the ribs when they reach a "fall-off-the-bone" consistency.
- Rest and Serve: Allow the meats to rest for ten minutes before slicing the chicken into quarters and the ribs into individual bones.
Nutrition information is automatically calculated, so should only be used as an approximation.